Sanding: For a smooth finish!
Removing, smoothing, preparing, enhancing: sanding is the multi-talented star of DIY jobs. What do you need to ensure everything goes smoothly, and what's the best way to do it? Here are our top tips for the perfect finish.
 AI
AIWhat is sanding?
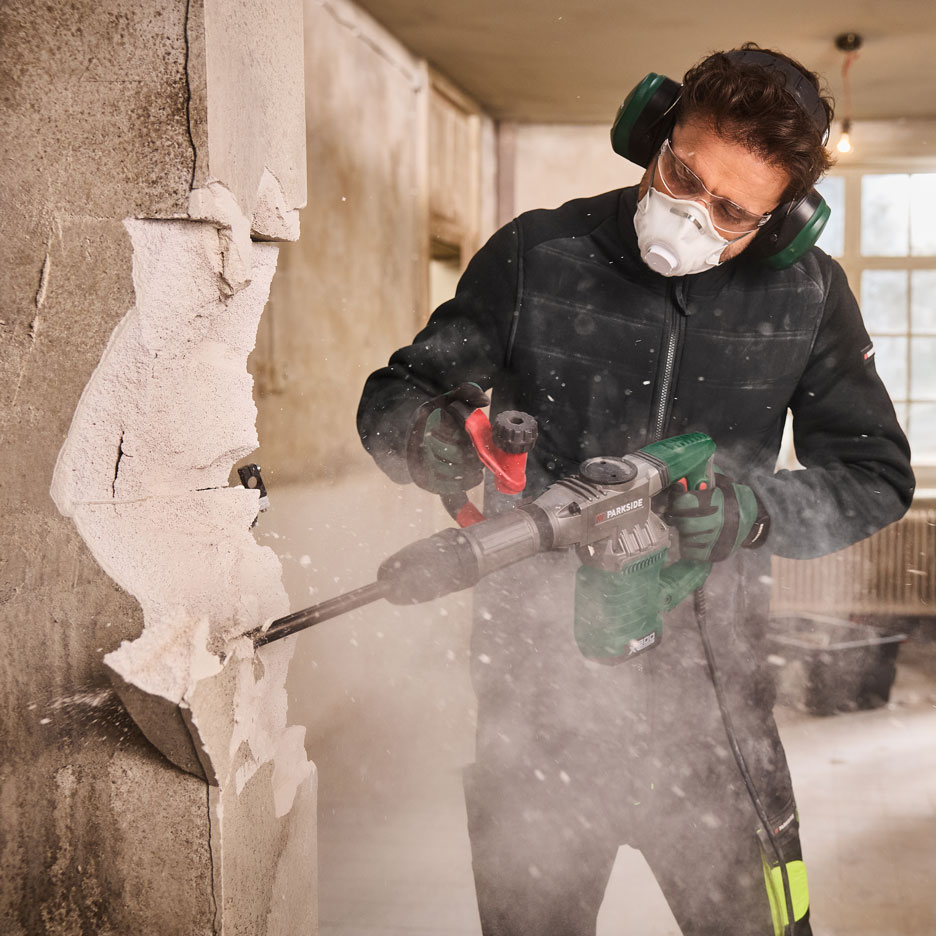
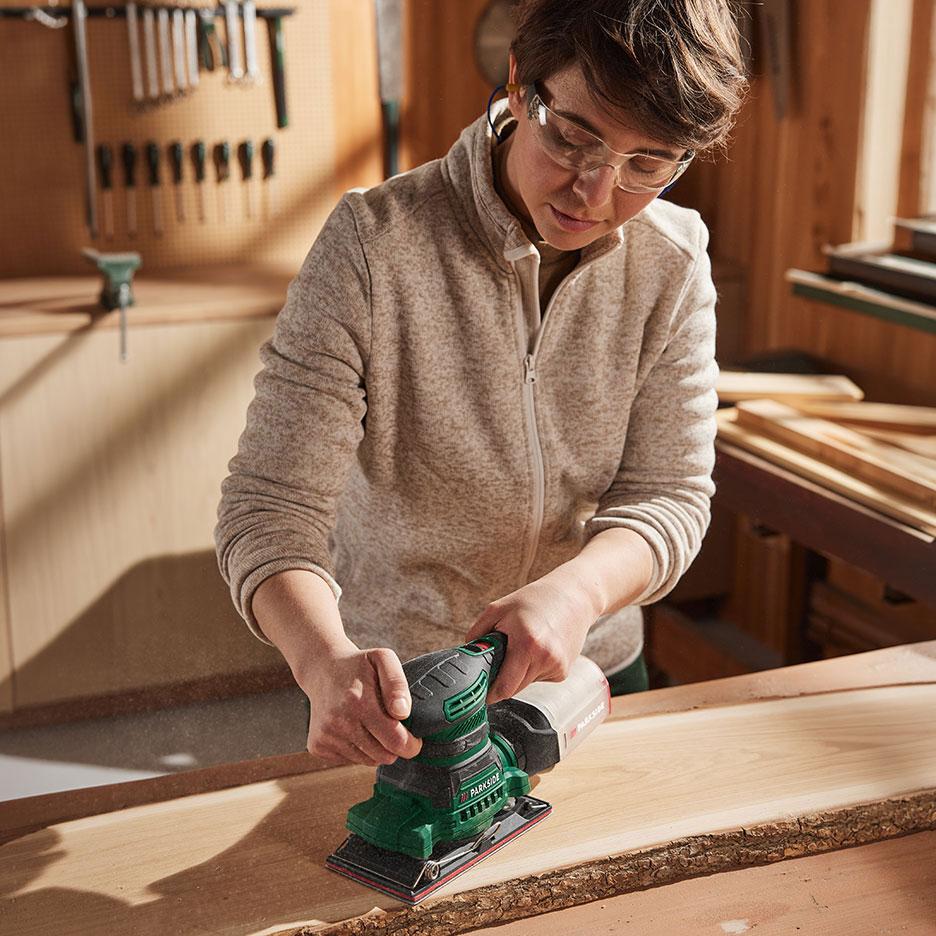
Sanding is a process where an abrasive material is used to remove fine layers from a workpiece. As sanding creates very fine dust, you should always wear a respiratory mask for safety! Sanding has three main purposes:
- Smoothing surfaces
- Sharpening tools
- Cutting materials
Depending on the task, you will need a sander, grinding discs, whetstones and sandpaper.
The right sander for the job
Whether you want to sand parquet flooring or strip paint from a garden gate, sanding is all about the perfect combination of sander, abrasive and technique. In theory, any sander can do any sanding job, but you should always use the optimal tool. Here's our overview:
- Belt sander: Large surfaces with high material removal
- Delta sander: Edges, corners and awkward areas
- Random orbit sander: Fine finishing and polishing of flat or curved surfaces
- Orbital sander: Coarse work on large surfaces
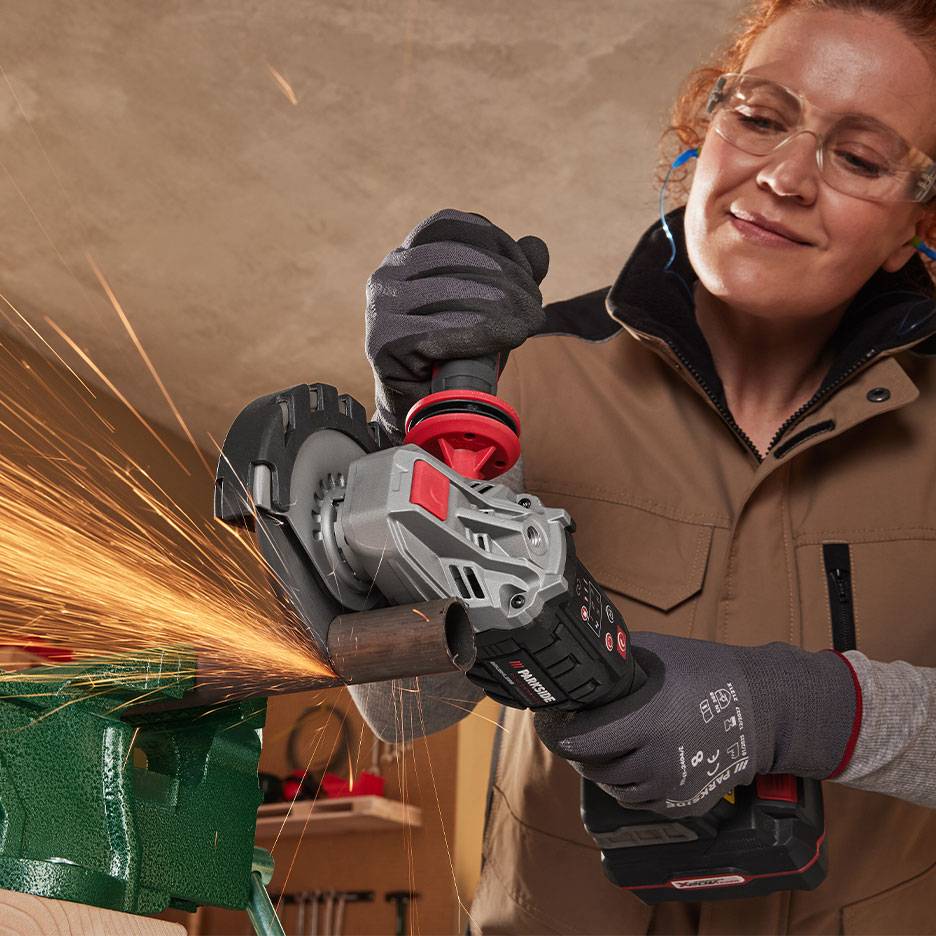
- Angle grinder: For grinding and cutting
- Drywall sander: Smoothing walls and ceilings
- Hand sander: Fine detail work and delicate corners

Sanding correctly: Here's how
Every sanding machine can be used in several ways. With the right sanding technique, you can ensure optimal material removal with the lowest possible risk to the workpiece.
Dry sanding
Dry sanding is done without water, oil or emulsions as lubricants and coolants. This allows you to achieve a particularly high rate of material removal, making dry sanding ideal for coarse work.
Wet sanding
With wet sanding, a liquid serves as a lubricant and also cools the workpiece during processing. This allows you to sand at a high speed. Wet sanding is particularly suitable for filled, painted car bodies. Wood for bathroom furniture or other wet areas is also moistened during the sanding process.
Hand sanding
An easy-grip hand sanding block made of cork or hard rubber, as well as soft, fleece-based abrasives, allow for precise and effective work. Hand sanders are a great choice for complex structures and hard-to-reach areas. For example, you can use them to remove old paint from window frames.
Belt sanding
Electric belt sanders work with a sanding belt that is guided and driven over motorised rollers. They sand large surfaces particularly quickly. This makes belt sanders ideal for coarse and preliminary sanding, as well as for removing paint from doors or gates.
Our tip: The right abrasive turns your sander into the perfect tool. Find out what you need to know in our “Sanding Paper” guide.

Sanding wood in 4 steps
Tools at the ready, let's get sanding! Our step-by-step guide for wood can also be applied to other materials. If you're unsure, check out our tutorials!
Step 1: Coarse sanding
Secure the workpiece on the workbench or place it on a stable surface. Take a coarse-grit sandpaper (P40 to P80) and work along the wood grain. Make sure your movements are even and apply light pressure. Don't let the sander rest in one spot for too long.
Step 2: Dampen the wood
Moisten the wood evenly with a sponge. This causes the wood fibres to stand up, making them easier to sand down. Let the wood dry a little.
Step 3: Medium sanding
Switch to a medium-grit sandpaper (P120 to P180). Work evenly with light pressure across the grain. Remove the wood dust and dampen the workpiece again.
Step 4: Fine sanding
For the final finish, use a fine sandpaper with a grit of P180 to P400. Work with the grain until all unevenness has disappeared.
Our tip: Always have some sandpaper in your toolbox. You can use it to remove things like glue residue or layers of paint quickly and without much effort.