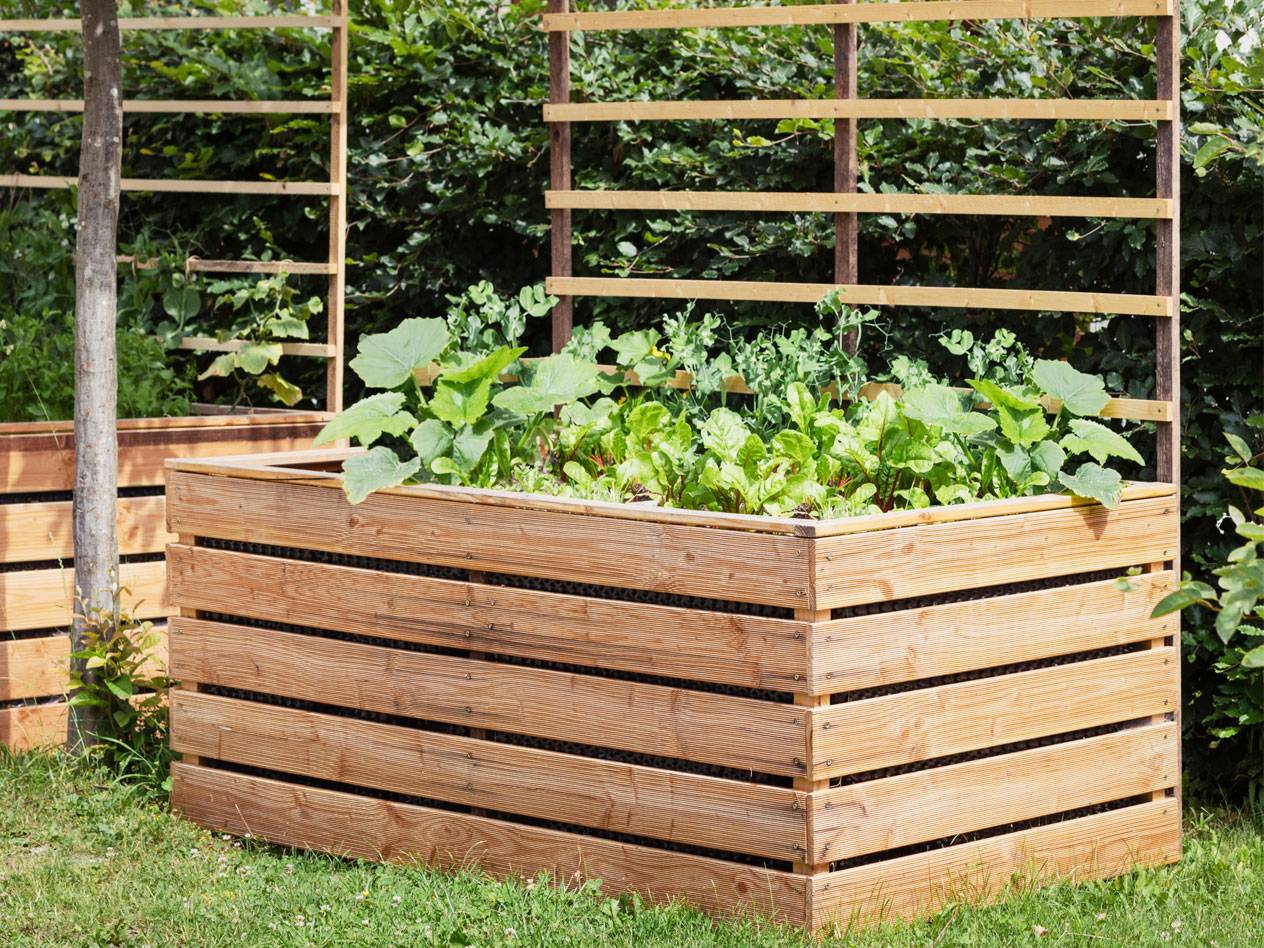
Filling and planting a raised bed: Here's how to do it
A raised bed has many advantages: it offers a comfortable working height, can transform balconies and terraces into true plant paradises, and can make a garden with poor soil bloom. To ensure the raised bed provides long-lasting joy, various things must be considered. Important tips on layer construction, proper planting, and everything about choosing the right flowers, herbs, and vegetables can be found here.
Contents
Why is the proper filling and planting of the raised bed so important?
Raised beds are especially popular because of their high nutrient concentration. With a raised bed, flowers, herbs, and vegetables can be grown even in locations where the natural soil does not allow successful planting. To ensure the availability of important nutrients, the filling of the raised bed is crucial. Only through the right layers and the natural decomposition process does the raised bed become a true nutrient powerhouse.
What does the structure of a raised bed look like?
For a fertile raised bed, more than just plain soil in a wooden box is needed. The different layers provide nutrients and warmth. A well-constructed raised bed can yield abundant harvests and magnificent blooms for up to five years.
Layers of the raised bed
Depending on the cultivation desired, the raised bed consists of three to five layers. Three layers are sufficient for herbs and flowers; five layers are recommended for vegetables. Each layer serves a different function. The height of the layers depends on the total height of the raised bed. However, they should not be too thin, as otherwise the nutrient density will not last long.
Structure of a raised bed with five layers
Coarse wood cuttings
Aeration, prevention of waterlogging
Layer height: 25 to 30 cm
Fine wood cuttings or turf
Barrier function, prevention of upper layers slipping through
Layer height: 15 to 20 cm
Coarse compost or alternatives
Heat, nutrients through decomposition
Layer height: 20 cm
Decomposed compost
Direct nutrient supply
Layer height: 10 cm
Soil
Planting layer
Layer height: remaining height, at least 20 cm
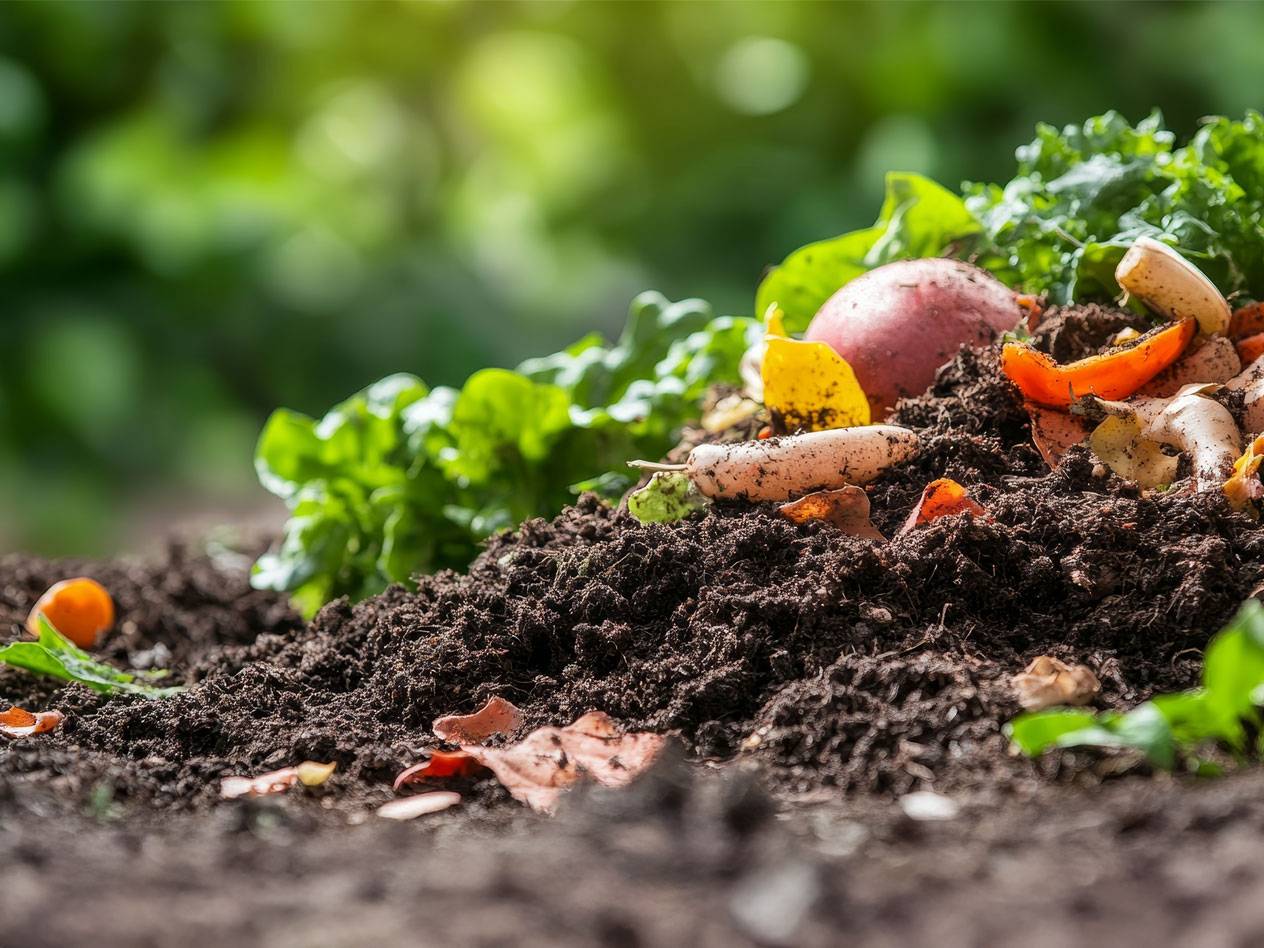
Especially the layers of compost or alternatives like horse or cow manure are crucial for the success of a raised bed. This layer should not be replaced by soil or similar materials. If you only want to plant flowers, you can fill your raised bed completely with potting soil – compost and barrier layers are not necessary in this case.
Instructions: How do I fill a raised bed?

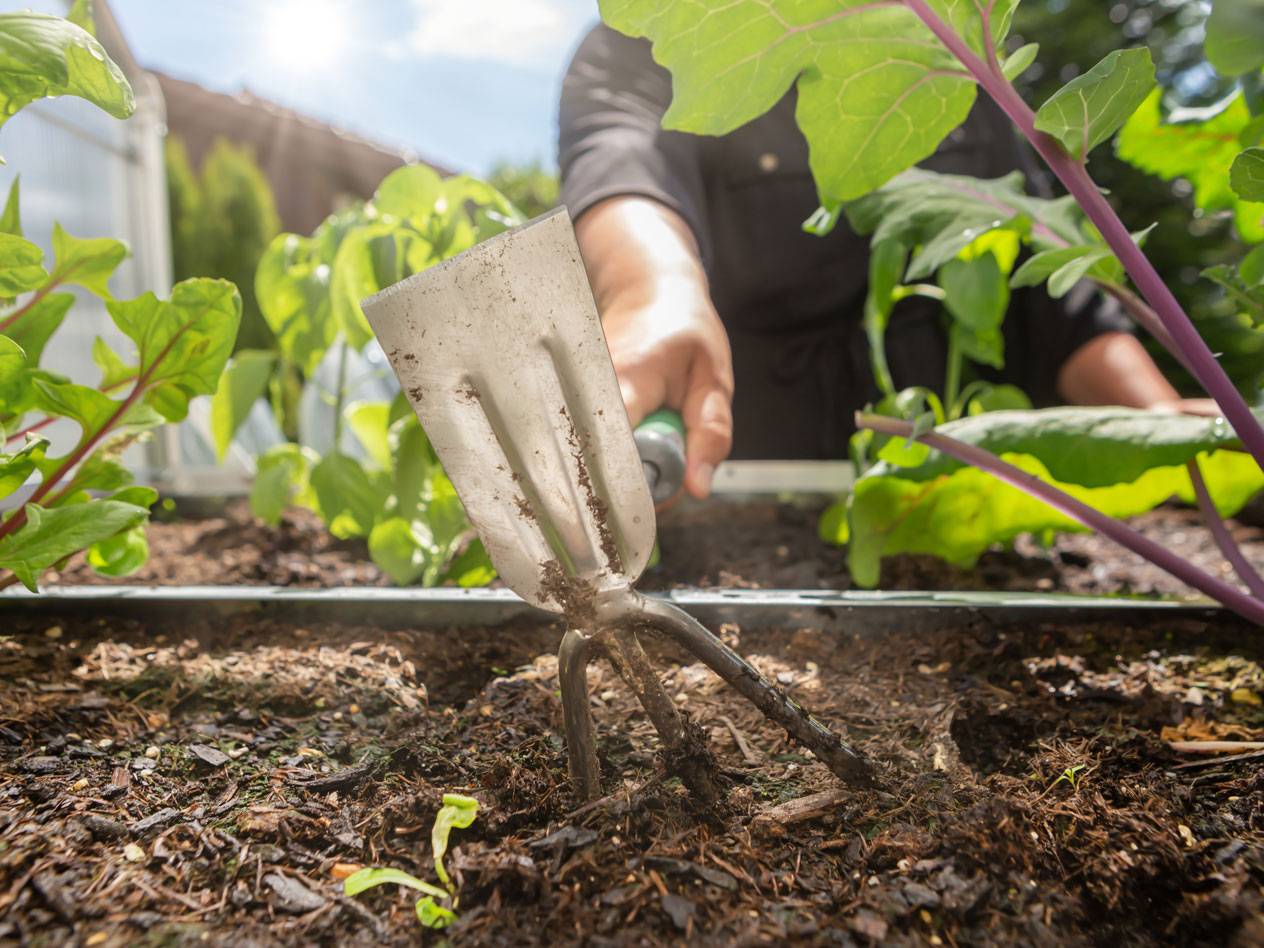
Step 1: Attach a vole mesh
Before you fill the first proper layer into the raised bed, you should attach a vole mesh to the bottom. This mesh keeps rodents and other intruders away from the soil, roots, and plants.
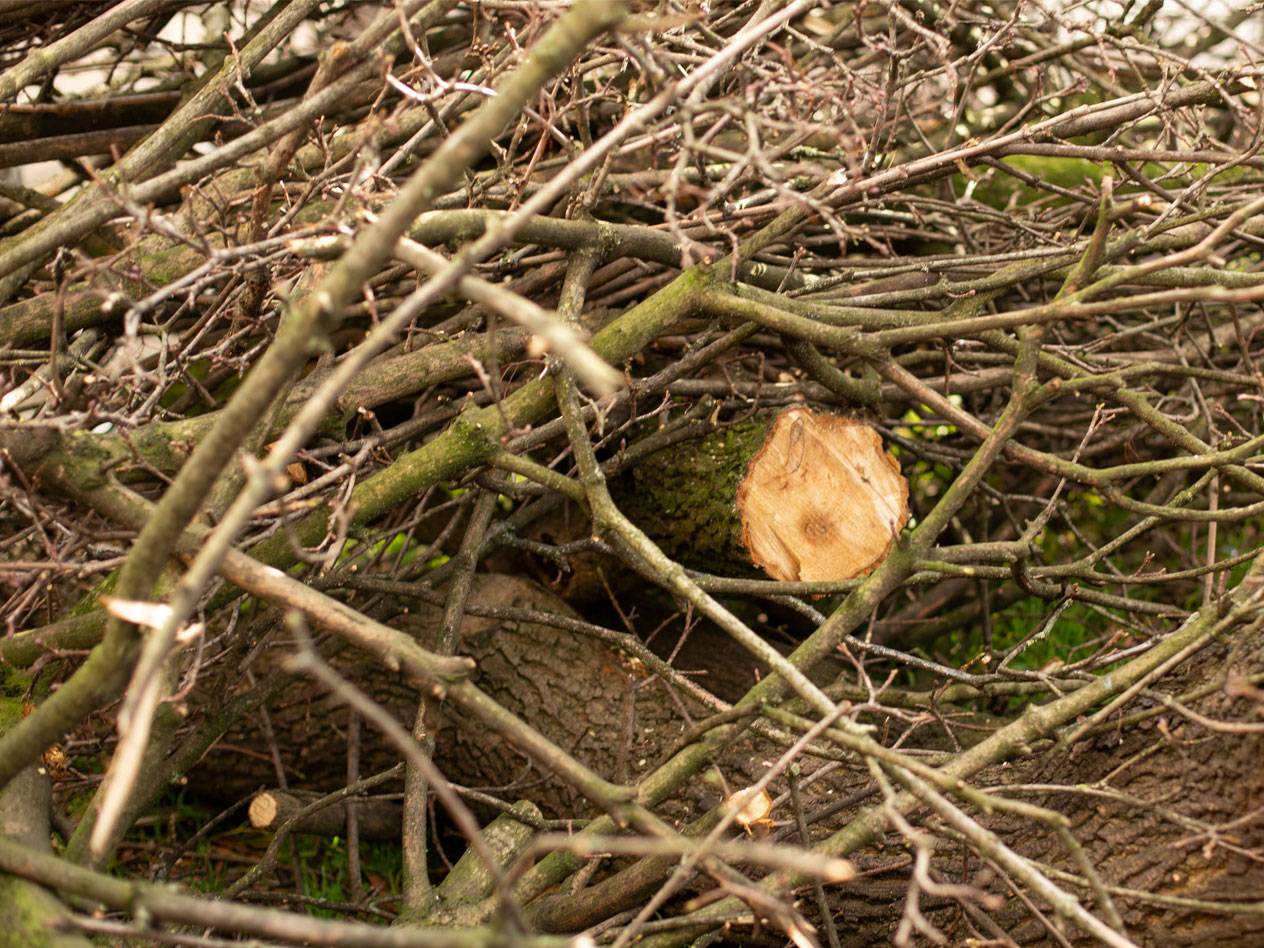
Step 2: Fill in the wood core layer
On top of the vole mesh, you fill the first layer – the so-called wood core layer. It can consist of small branches, shrub waste, and other tree and hedge cuttings. This layer must not be compact or solid, as its loose structure has several advantages: It provides space for beneficial soil organisms, ensures that moisture drains away, and allows good aeration of the raised bed.
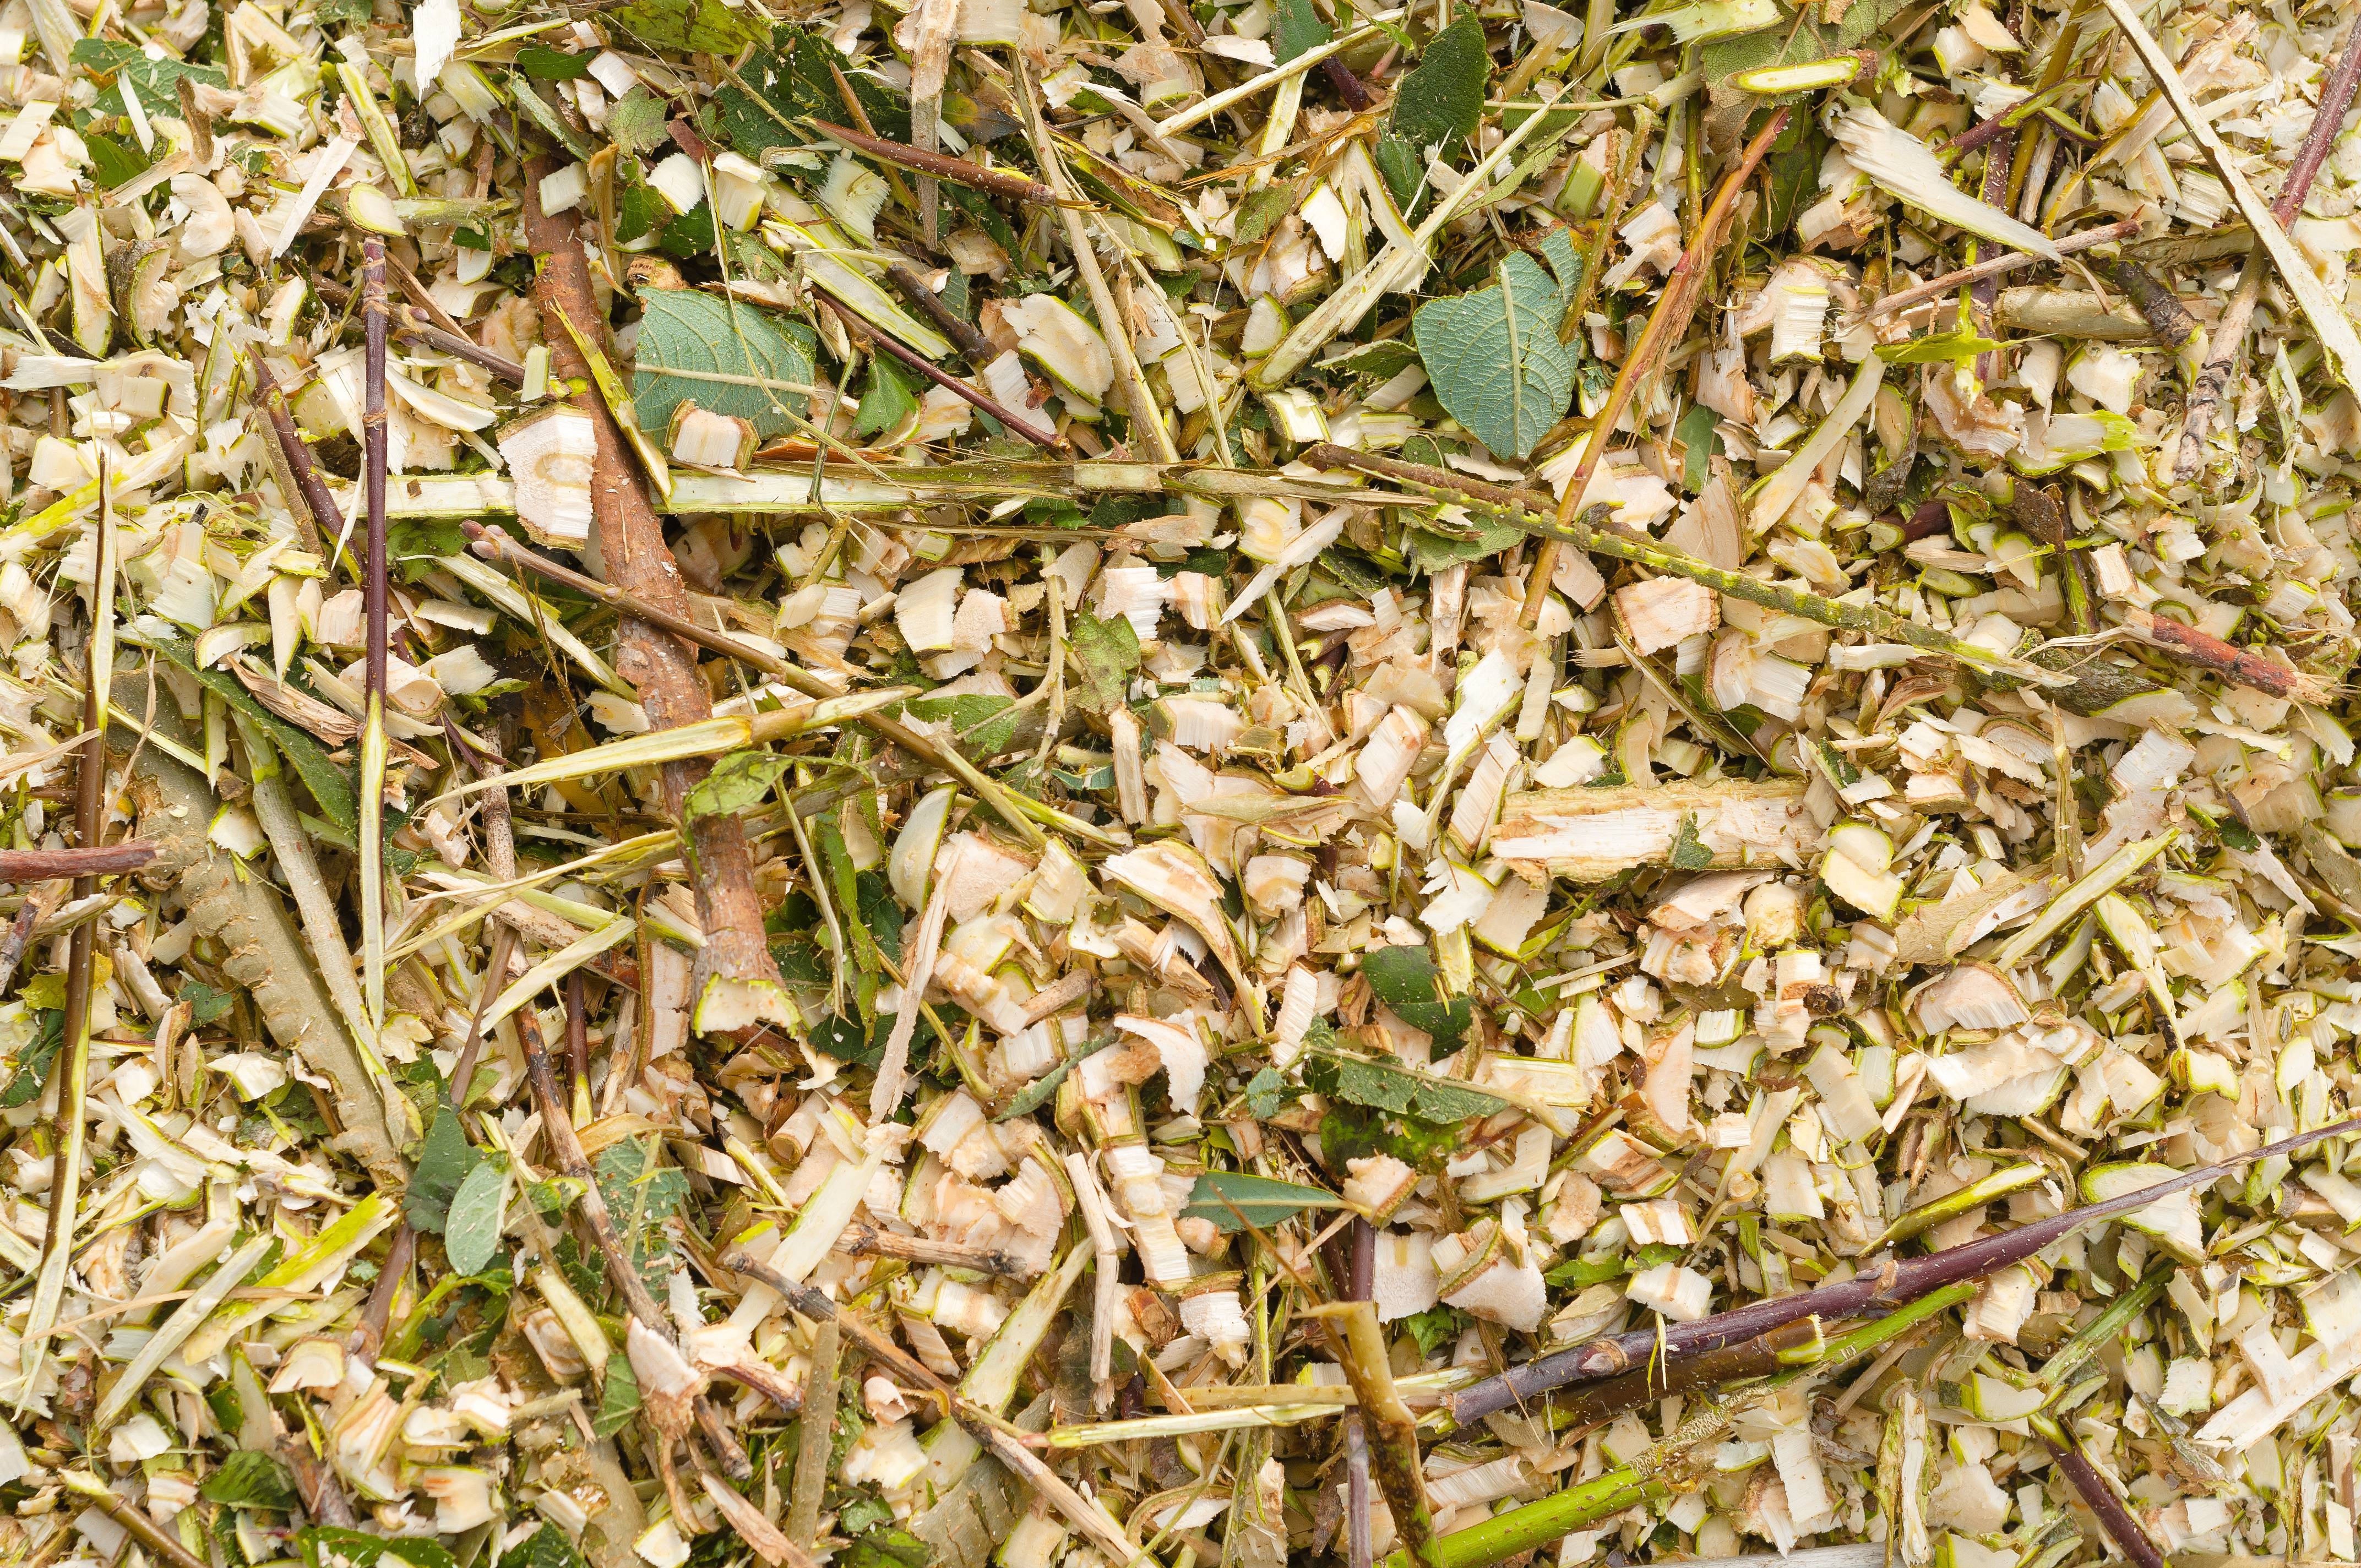
Step 3: Fill in the intermediate layer
The second layer separates the wood core layer from the initial nutrient soil. For this, chopped branches, finely cut hedge waste, or shredded perennial remains are suitable. Alternatively, you can use an inverted turf. This intermediate layer ensures that the upper layers do not slip downwards.
Step 4: Fill in the compost
Next, you fill in the compost. The right mixture is crucial here. Ideally, you have both decomposed compost or manure and coarse, somewhat ""fresher"" compost available. This ensures that sufficient nutrients are released into the soil over a longer period. You can either produce compost or compostable material from garden waste at home using a composter or buy it from a specialist retailer.
Step 5: Fill with soil
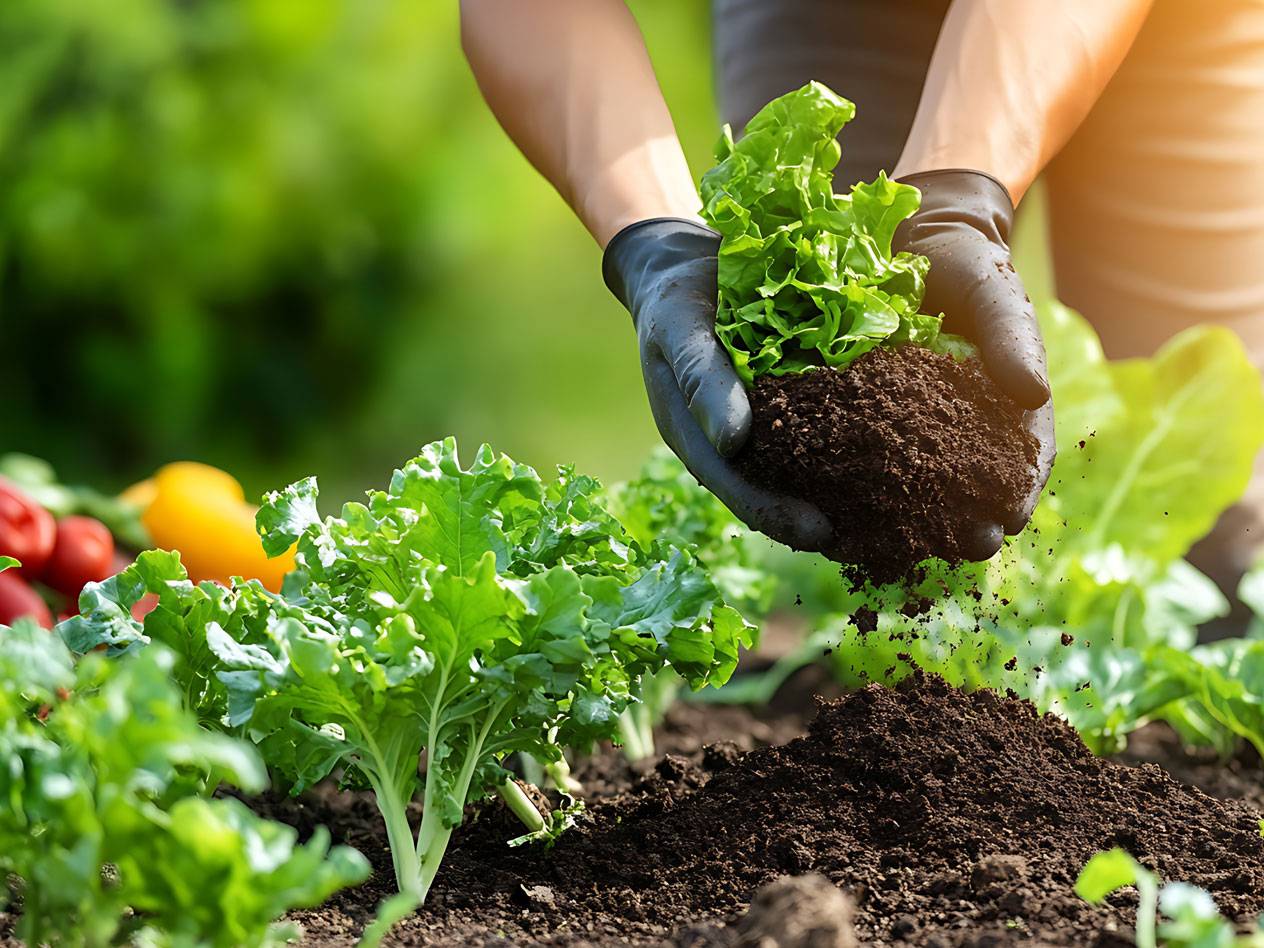
The last layer consists of high-quality soil. You can either take the soil from your own garden or get it from a specialist store. The soil layer should not be too thin, as this is where you will ultimately plant your flowers, herbs, and vegetables.
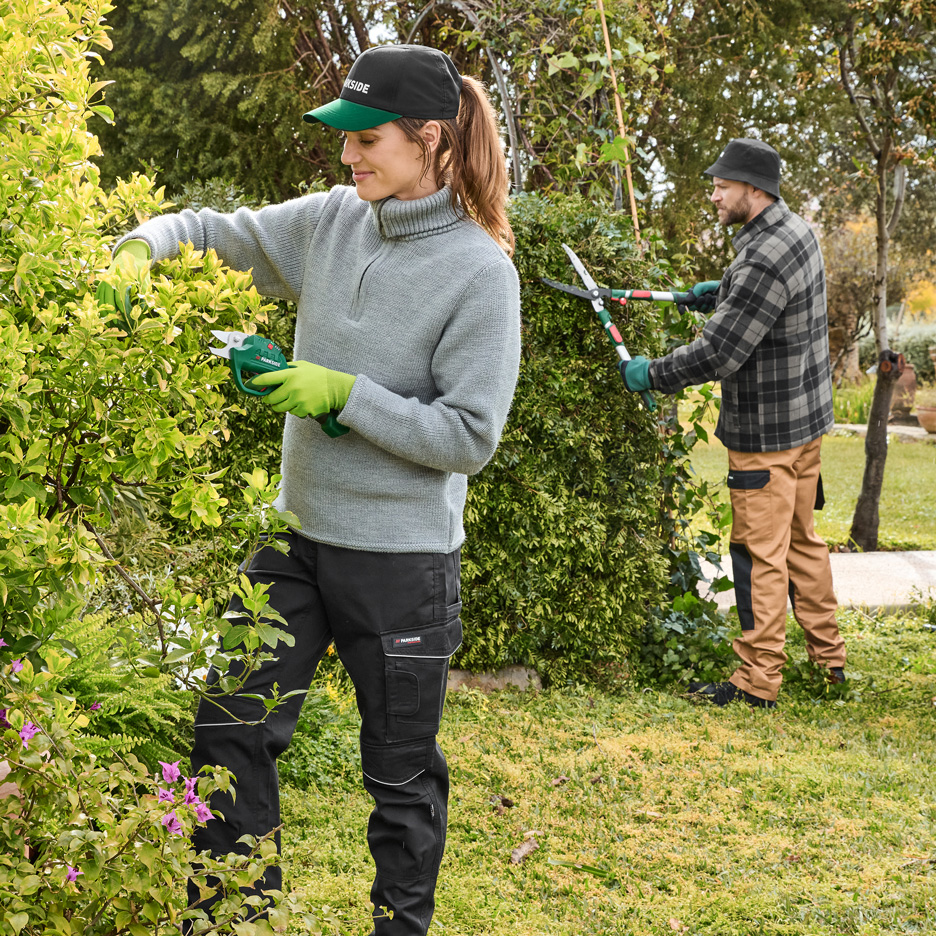
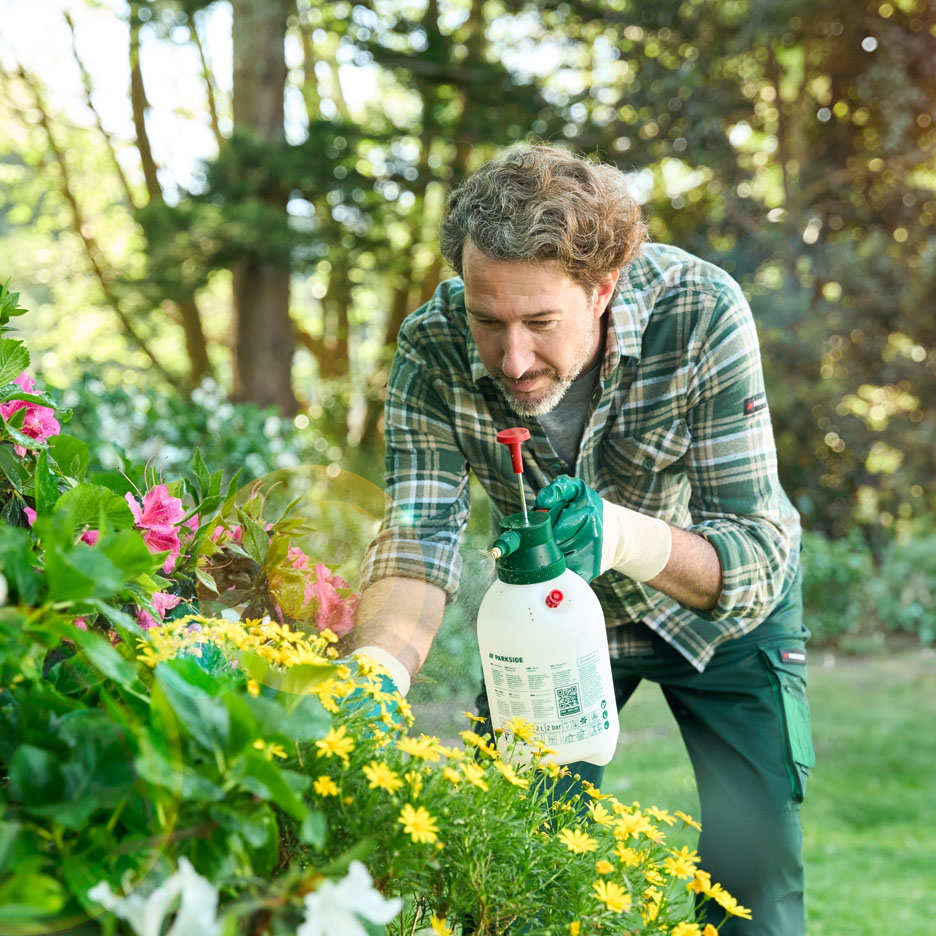
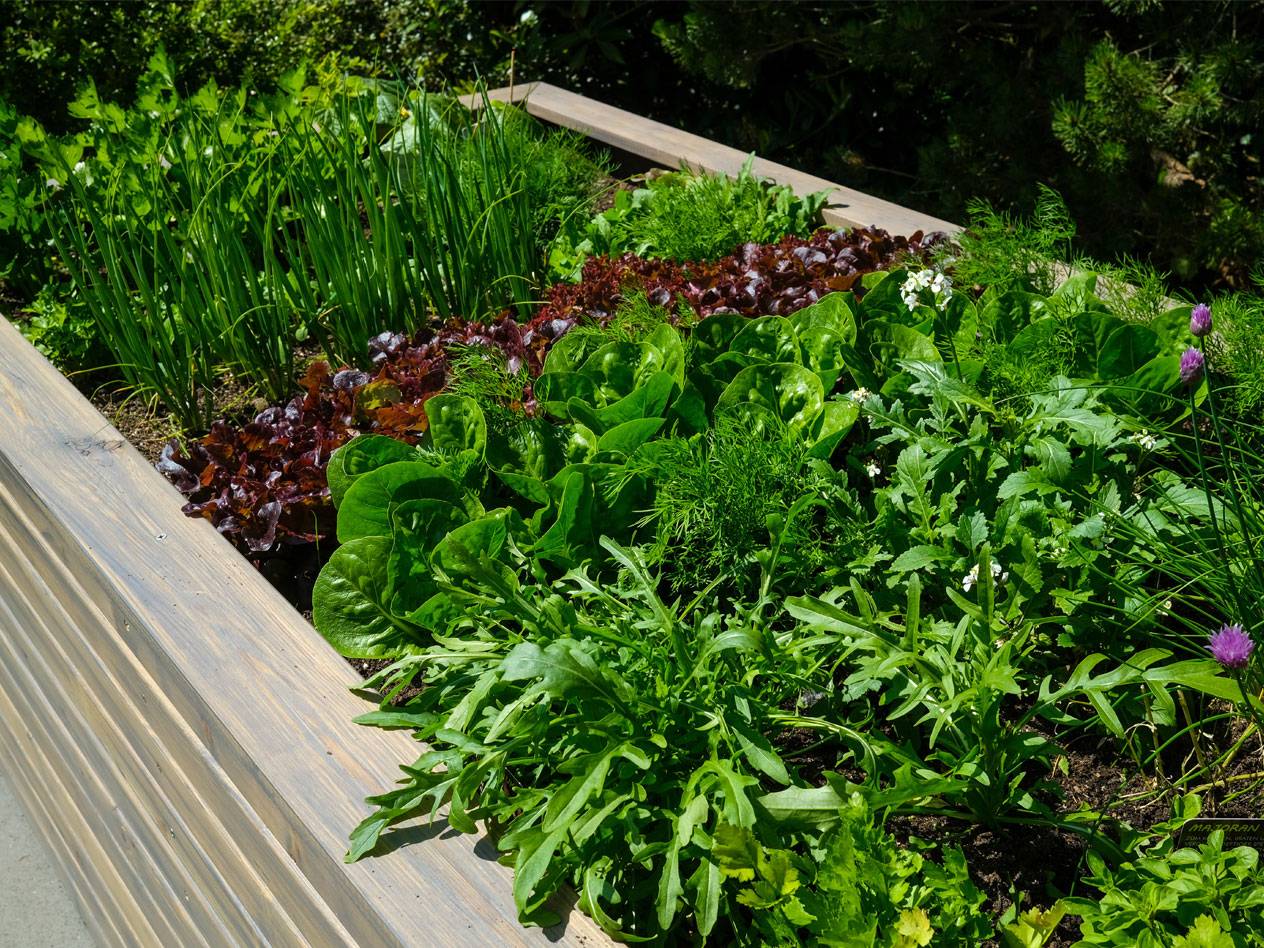
What can I plant in my raised bed?
Thanks to its high nutrient density, a raised bed is suitable for many different types of planting. Both flowers and herbs, as well as various vegetables, can thrive well in a raised bed. Whether you use pre-grown plants or seeds is a matter of preference: seeds offer a greater variety, but require more effort. Pre-grown plants are quick to set, but more expensive to purchase. In addition to choosing the right varieties, the planting time and crop sequence also play an important role.
What should I pay attention to when planting the raised bed in the first and second year?
Although the nutrient content in the raised bed is higher than in a normal ground-level bed, the nutrient reserves are also limited here. To get the most out of the raised bed, heavy feeders should be planted in the first year. These are plants that need a lot of nutrients. In the second year and in the following years, moderate feeders and light feeders can be chosen, which cope well with the decreasing nutrient content of the soil.
Planting a raised bed with flowers
If you want to plant your raised bed only with flowers, you can theoretically skip the layering and fill the entire bed with potting soil. However, flowers also benefit from nutrient-rich layered soil.
Planting a raised bed with herbs
Herbs are not particularly nutrient-hungry. Therefore, there are no heavy feeders among them. Moderate and light feeders can be placed in the raised bed from the beginning without any concerns and can be mixed with vegetables.
Planting a raised bed with vegetables
When planting the raised bed with vegetables, it is important to pay attention to good mixed cultures. Different plants have different needs and can complement each other well. Mixed culture tables list which varieties get along particularly well. In general, the more related the plants are, the less suitable they are for mixed cultures.
Raised bed calendar: What to plant when?
Especially with vegetables, the right planting time is crucial for a bountiful harvest.
- March: Radishes, arugula, leaf lettuce, spinach, radish, parsley
- April: Spring onions, onions, leeks
- May: Pre-grown young plants like zucchini, peppers, and chili
- June/July: Broccoli, kohlrabi, carrots
- August: Radicchio, endive lettuce
- September/October: Celery, parsley, arugula
- December: Endive lettuce, Swiss chard, spinach

Guide to Planting a Raised Bed
Planting a raised bed is quite simple if you follow a few basic rules. The easiest way is to plant it with flowers.
Step 1: Get an Overview
Get an overview of the flowers available to you and make a plan – either in your head or actually on paper. Think about where you want to plant which flowers. For example, plant large flowers like sunflowers in the center of the bed, while small flowers and trailing plants do well at the edges. To ensure your raised bed is always in full bloom, make sure the flowers you plant bloom at the same time.
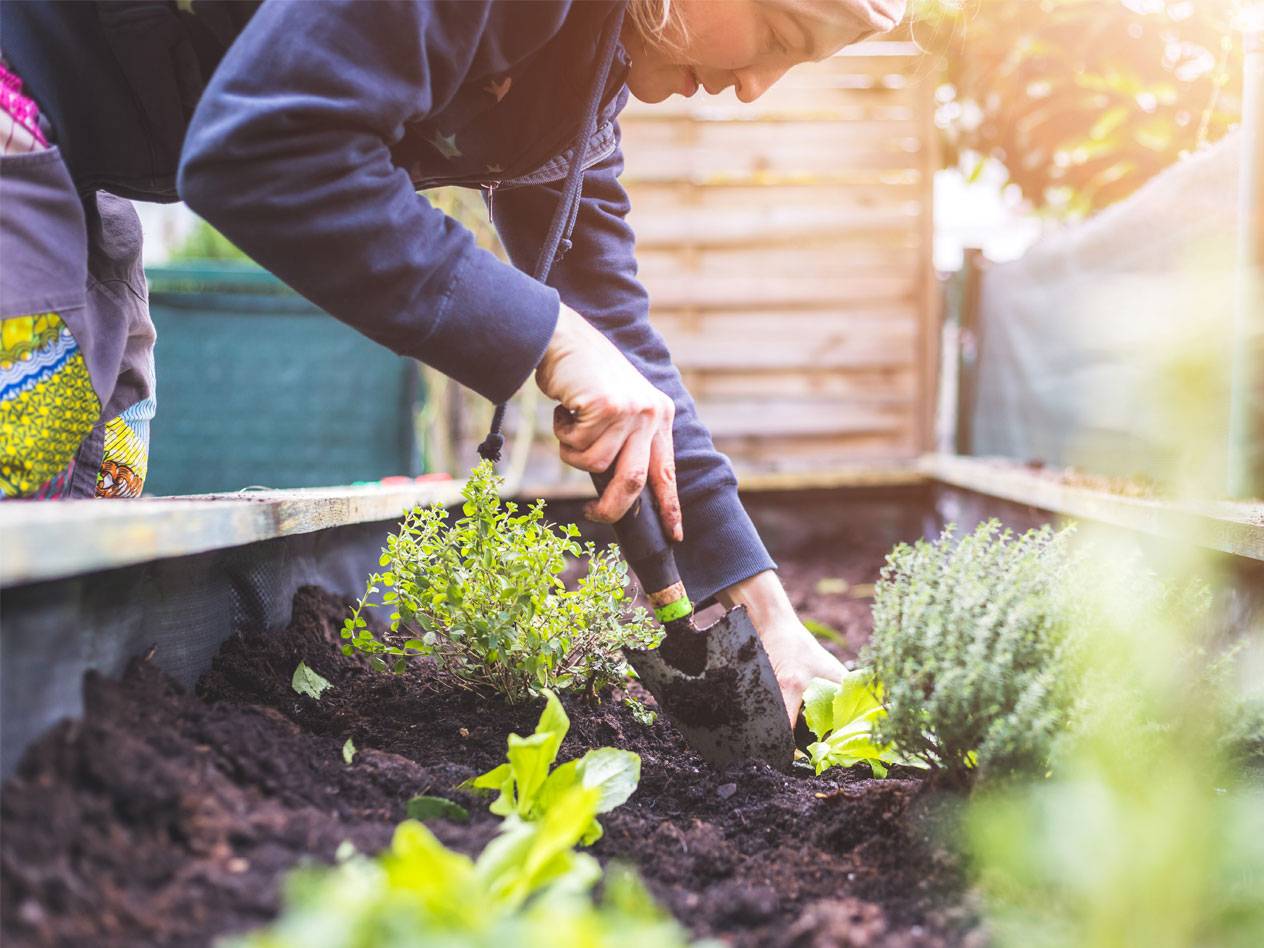
Step 2: Planting
Once you have decided where each flower will grow, you can start planting. If you are using seeds, loosen the soil with a small rake, scatter the seeds on the ground, and press them down lightly. You must keep the soil moist afterward. Detailed instructions for sowing can always be found on the respective packaging. If you want to use purchased or self-grown plants, make small holes in the soil with your hand or a trowel, place the plant in the hole, and carefully cover it with soil.
Questions and Answers
A raised bed can be placed in both sunny and shaded areas. The prevailing light conditions influence the planting: those who plant sunflowers in a shady environment will not enjoy their raised bed much. The choice of the ground, however, does not matter. Raised beds are therefore ideally suited to successfully plant corners with damp spots or heavy clay soils.
To make the raised bed winter-proof, first harvest all plants that are not frost-resistant. Then, loosen the soil layer with a small garden hoe and cover it with hay. Finally, cover the bed with roofing felt or dark plastic sheeting. If you don't want to give up gardening in winter, you can turn the raised bed into a kind of greenhouse using a plastic tunnel. Winter-hardy crops such as leeks, winter spinach, or parsnips can be grown here during the cold season.
For a pure flower raised bed, ordinary potting soil is sufficient. However, if vegetables are to be grown and harvested, it can be a bit more. Your own garden can serve as a soil supplier here. If you cannot or do not want to rely on it, there is a wide selection of soil types available in specialist stores. Classic garden soil, enriched with organic fertilizer, is just as suitable as special raised bed soil, which some suppliers have in their range.