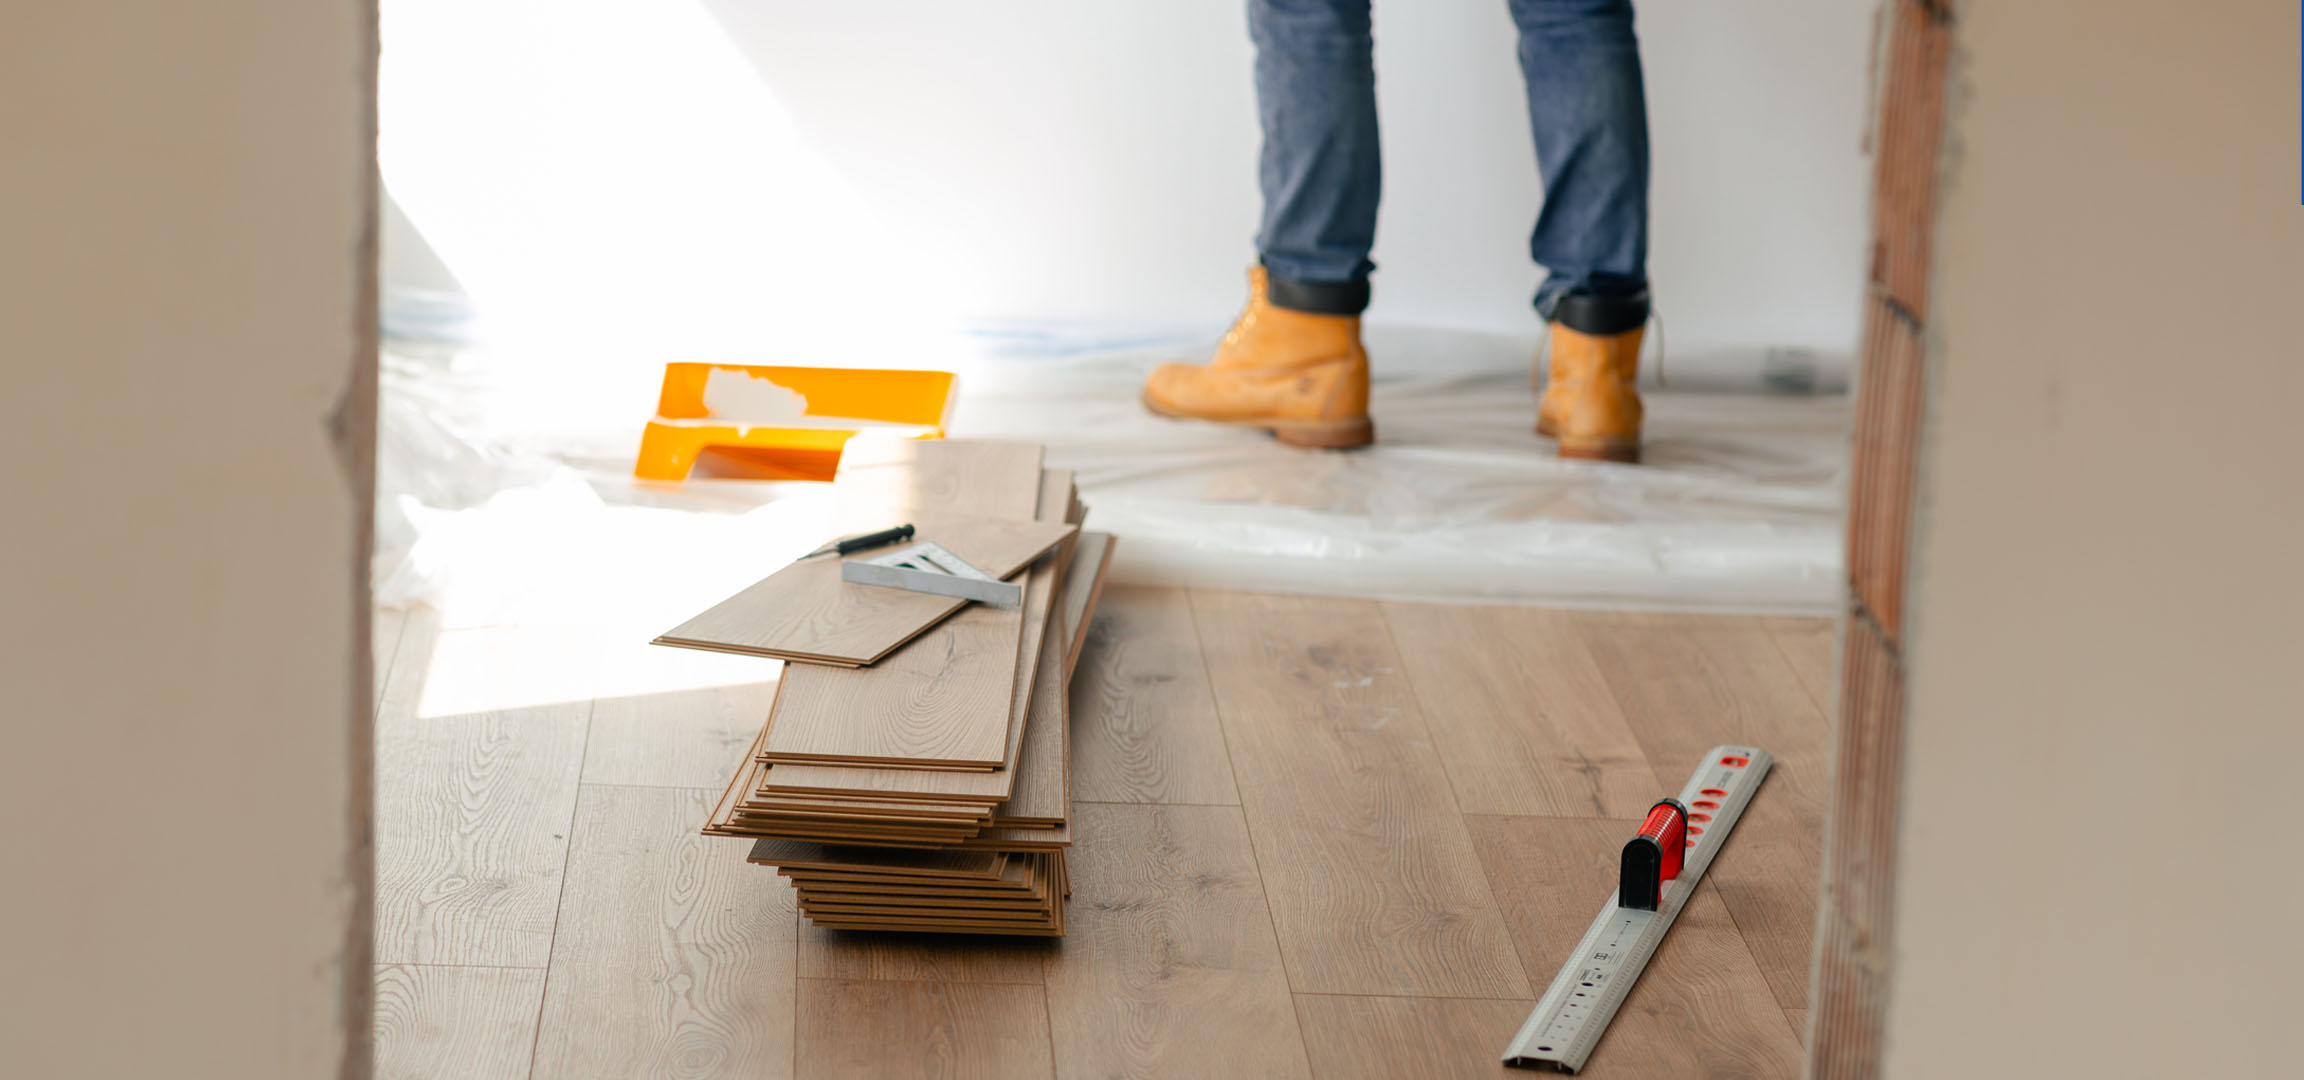
Cutting Laminate: It's that simple!
Think cutting laminate flooring is a job for DIY pros? Not necessarily. With the right tools and a few tips, you can get your flooring to the perfect size and make expert cuts, even if you're new to DIY.
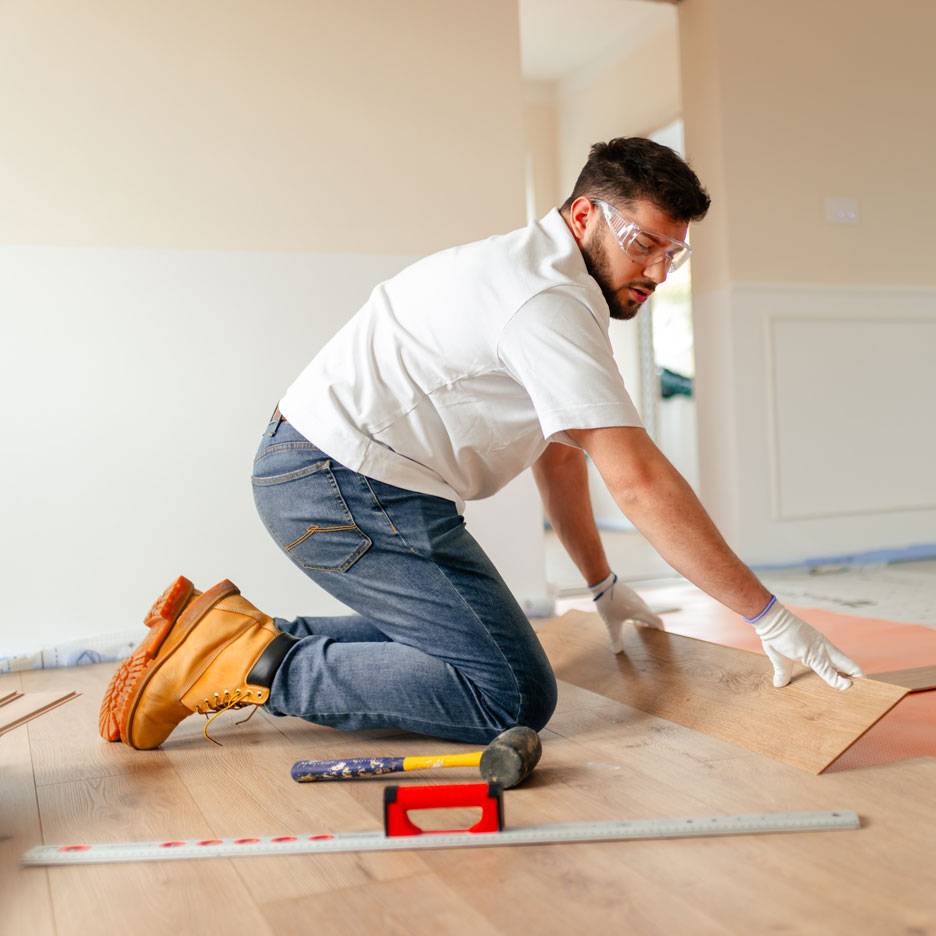
What's important?
When laying laminate or other hard flooring, every millimetre counts. That's why the rule is: measure three times, cut once! The safest way to work is with digital measuring tools, which save you the hassle of difficult calculations.
Before you start the actual job, you should practise cutting laminate. Grab your tools, a laminate panel and get started. This will help you get a feel for the force required, the behaviour of the saws, etc.
Cutting and laying laminate is also a team effort. Working together allows you to be more precise, avoid mistakes and have more fun! One person holds, one person cuts – for a perfect fit.
Womit klappt’s am besten?
Laminat ist ziemlich stabil, lässt sich jedoch problemlos mit unterschiedlichen Trennwerkzeugen bearbeiten. Strom oder Handarbeit, Spezialgerät oder Allrounder: Du hast viele Möglichkeiten, deinen Bodenbelag anzupassen. Wir betrachten die Vor- und Nachteile verschiedener Werkzeuge.
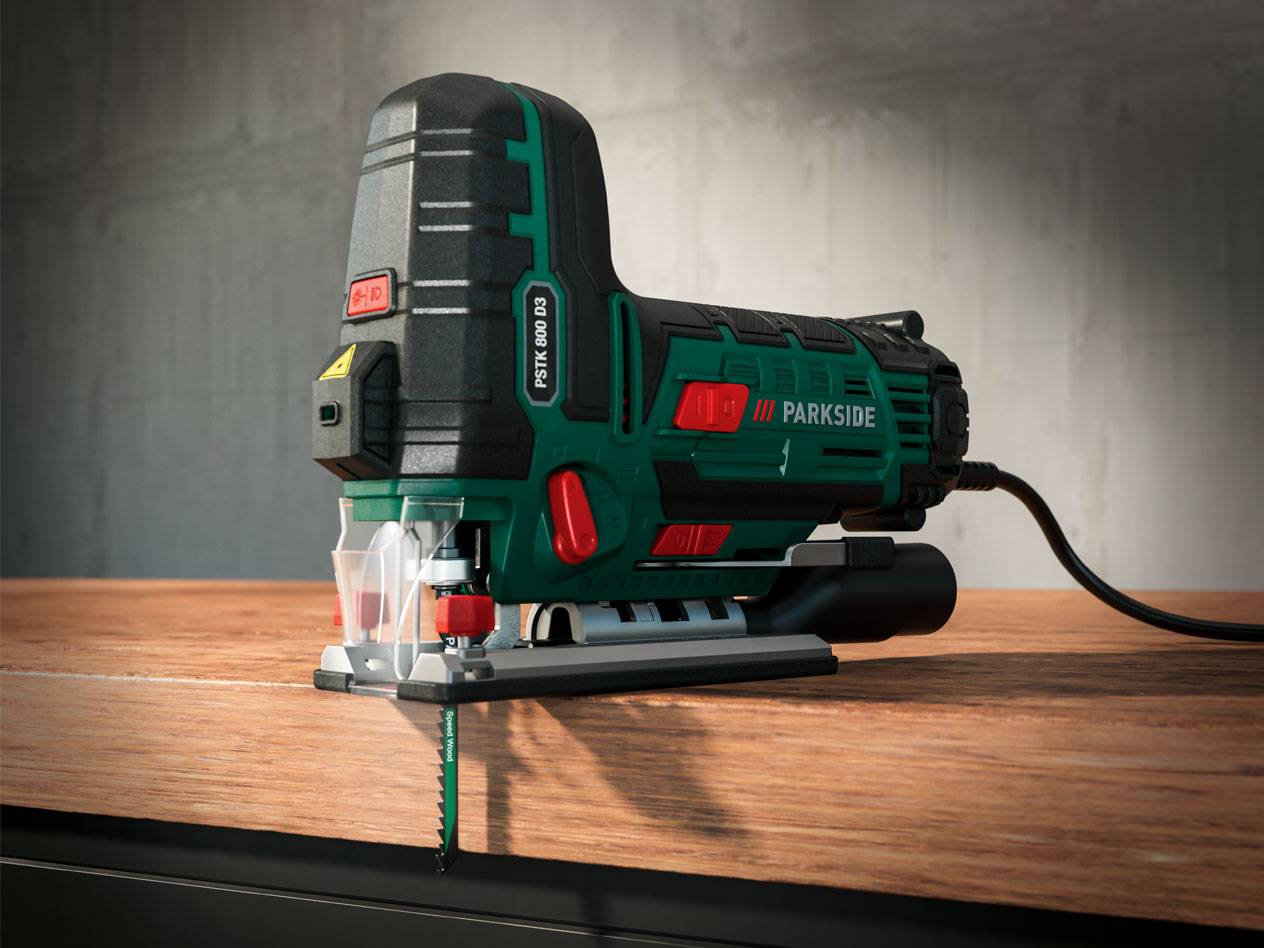 How to cut laminate flooring with a jigsaw
Die Stichsäge ist ein Allroundtalent für Laminat, ideal für Aussparungen an Rohren oder Wänden. Nutze spezielle Sägeblätter und führe sie mit Übung sicher. Achte auf Staubentwicklung und halte Ersatz-Sägeblätter bereit, um Verzögerungen zu vermeiden.
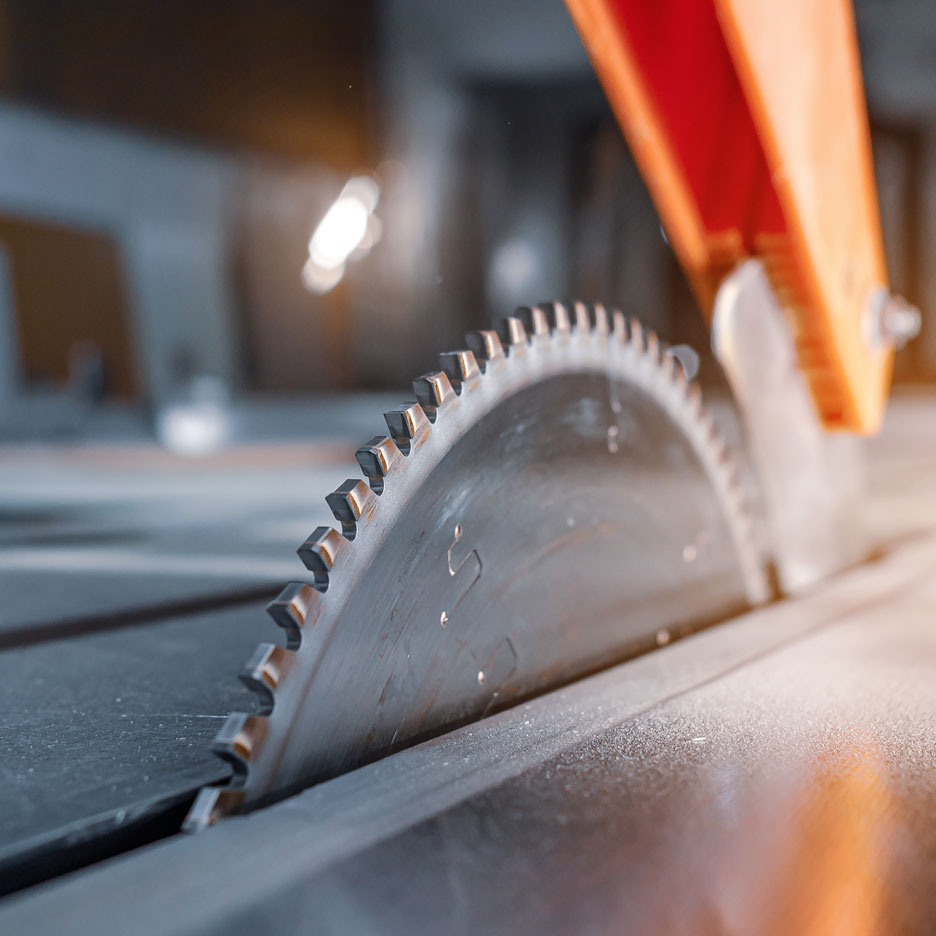
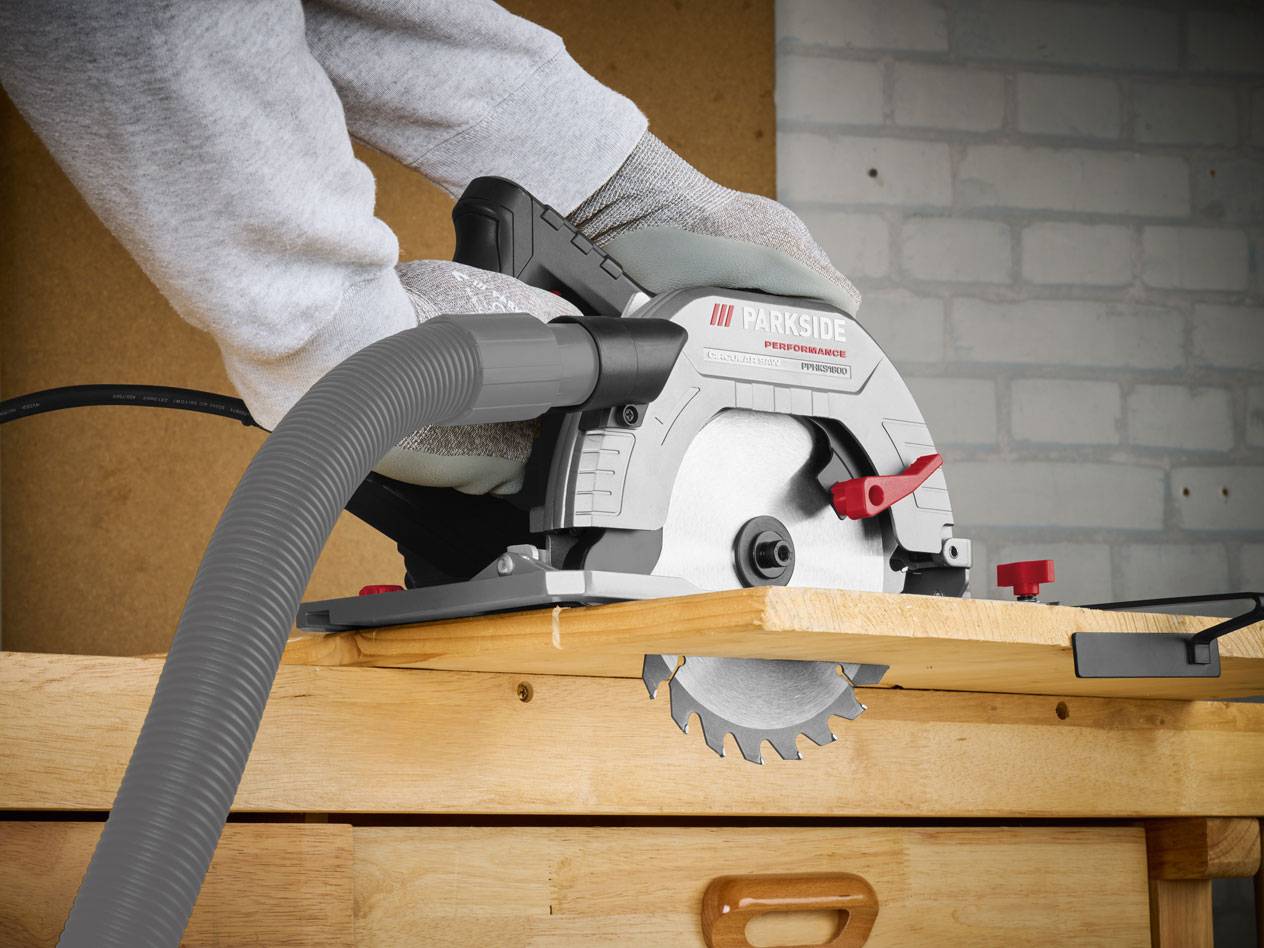 Cutting laminate with a circular saw
The circular saw makes precise and very straight cuts. To do this, however, you need to secure the laminate properly. This isn't always easy – it works best with a workbench or sawhorses.
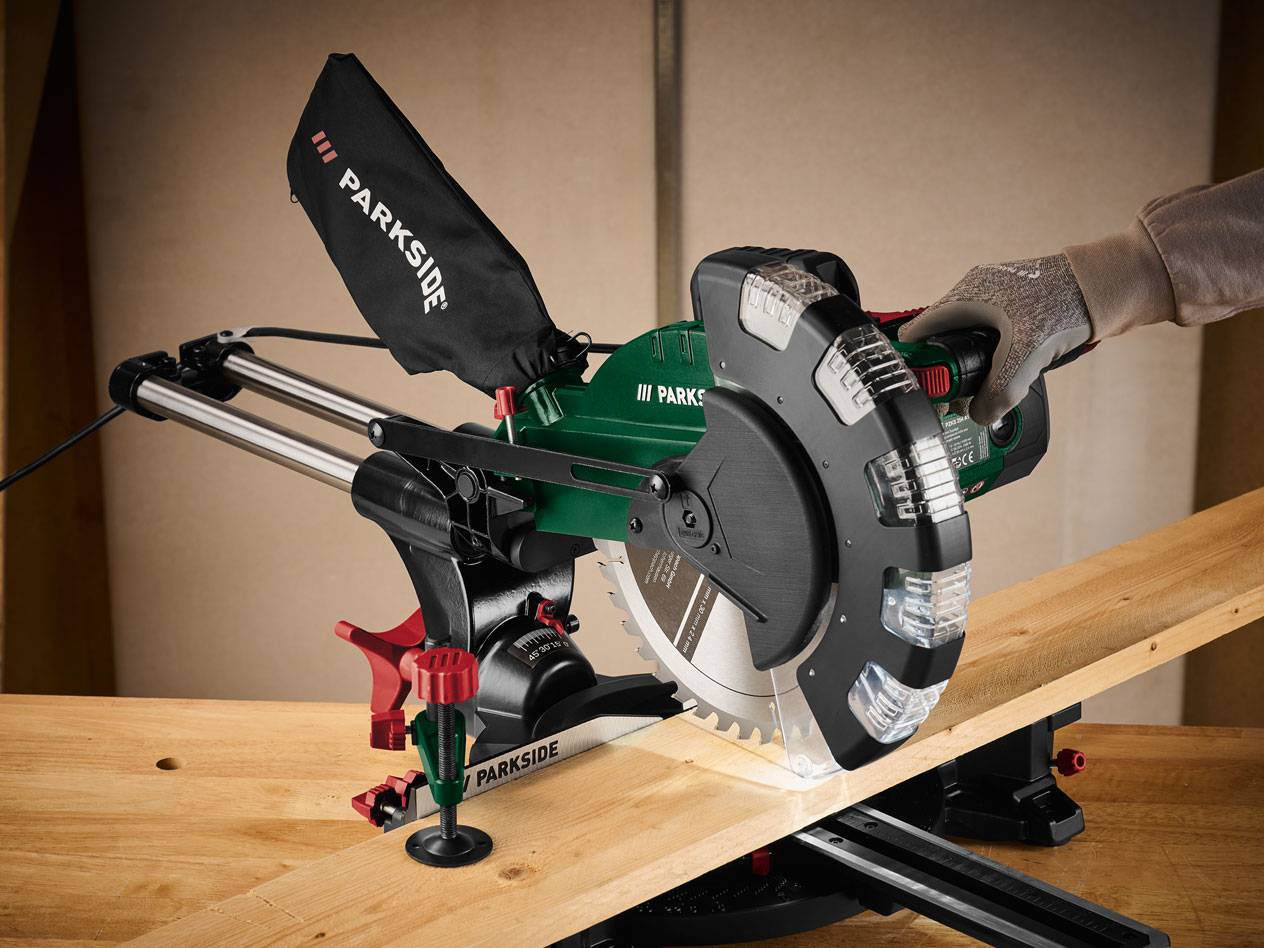 Cutting laminate with a mitre saw
A mitre saw also allows you to make clean, precise cuts. It's comfortable to operate and, depending on the model, can also cut angles. It's stable and larger, making it best suited for a fixed spot in your workshop.
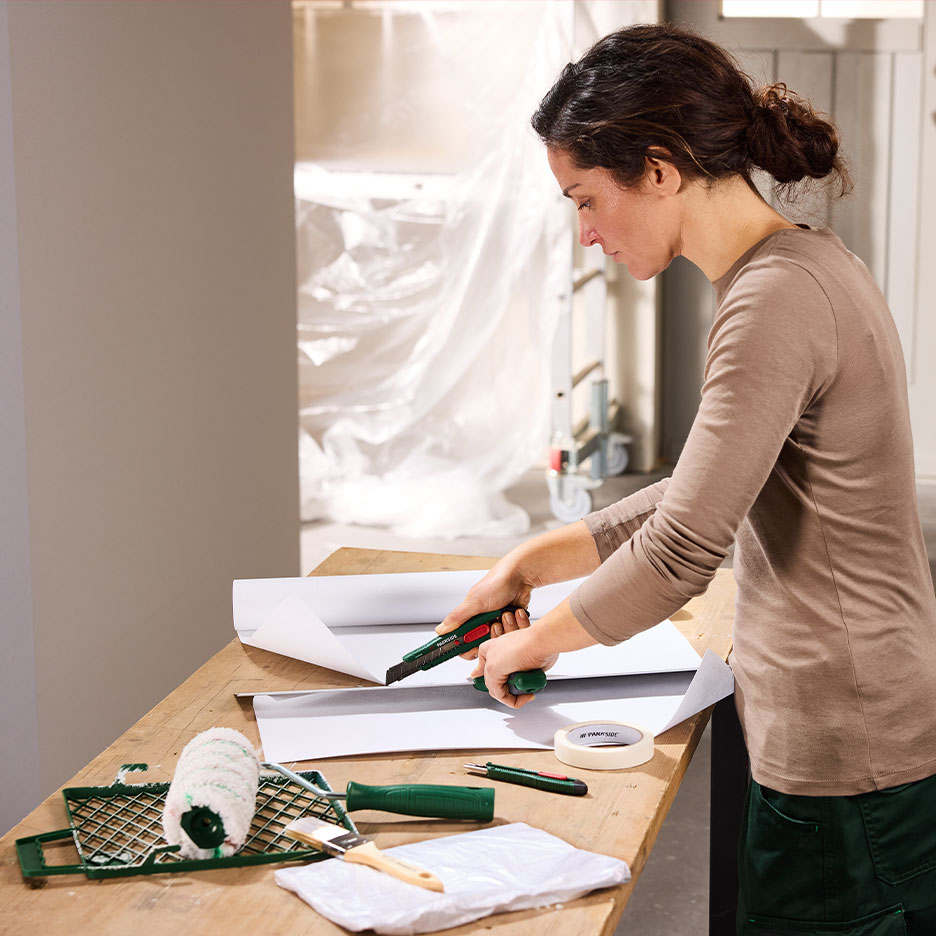
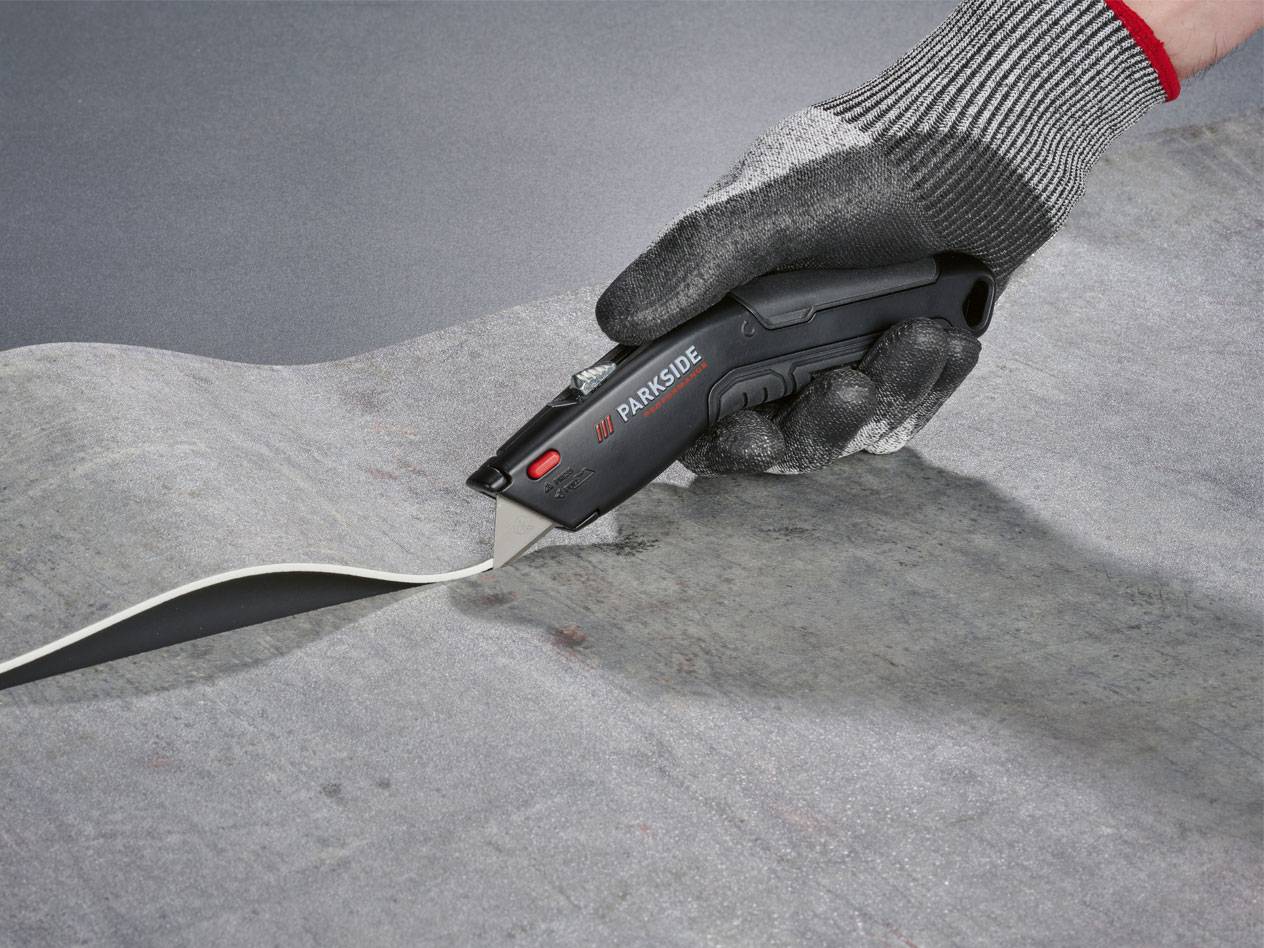 How to cut laminate with a utility knife
Cutting or sawing click vinyl? Use a professional utility knife! Cut on the underside to avoid fraying. For straight, power-free cuts, a laminate cutter is also a great option for any laminate flooring – efficient and clean.
Step-by-step guide: Cutting laminate flooring with a jigsaw
Before you start, store the laminate in the room where it will be laid for at least 48 hours. This allows the wood to acclimatise to the humidity, which prevents it from expanding or contracting later. Then, proceed as follows:
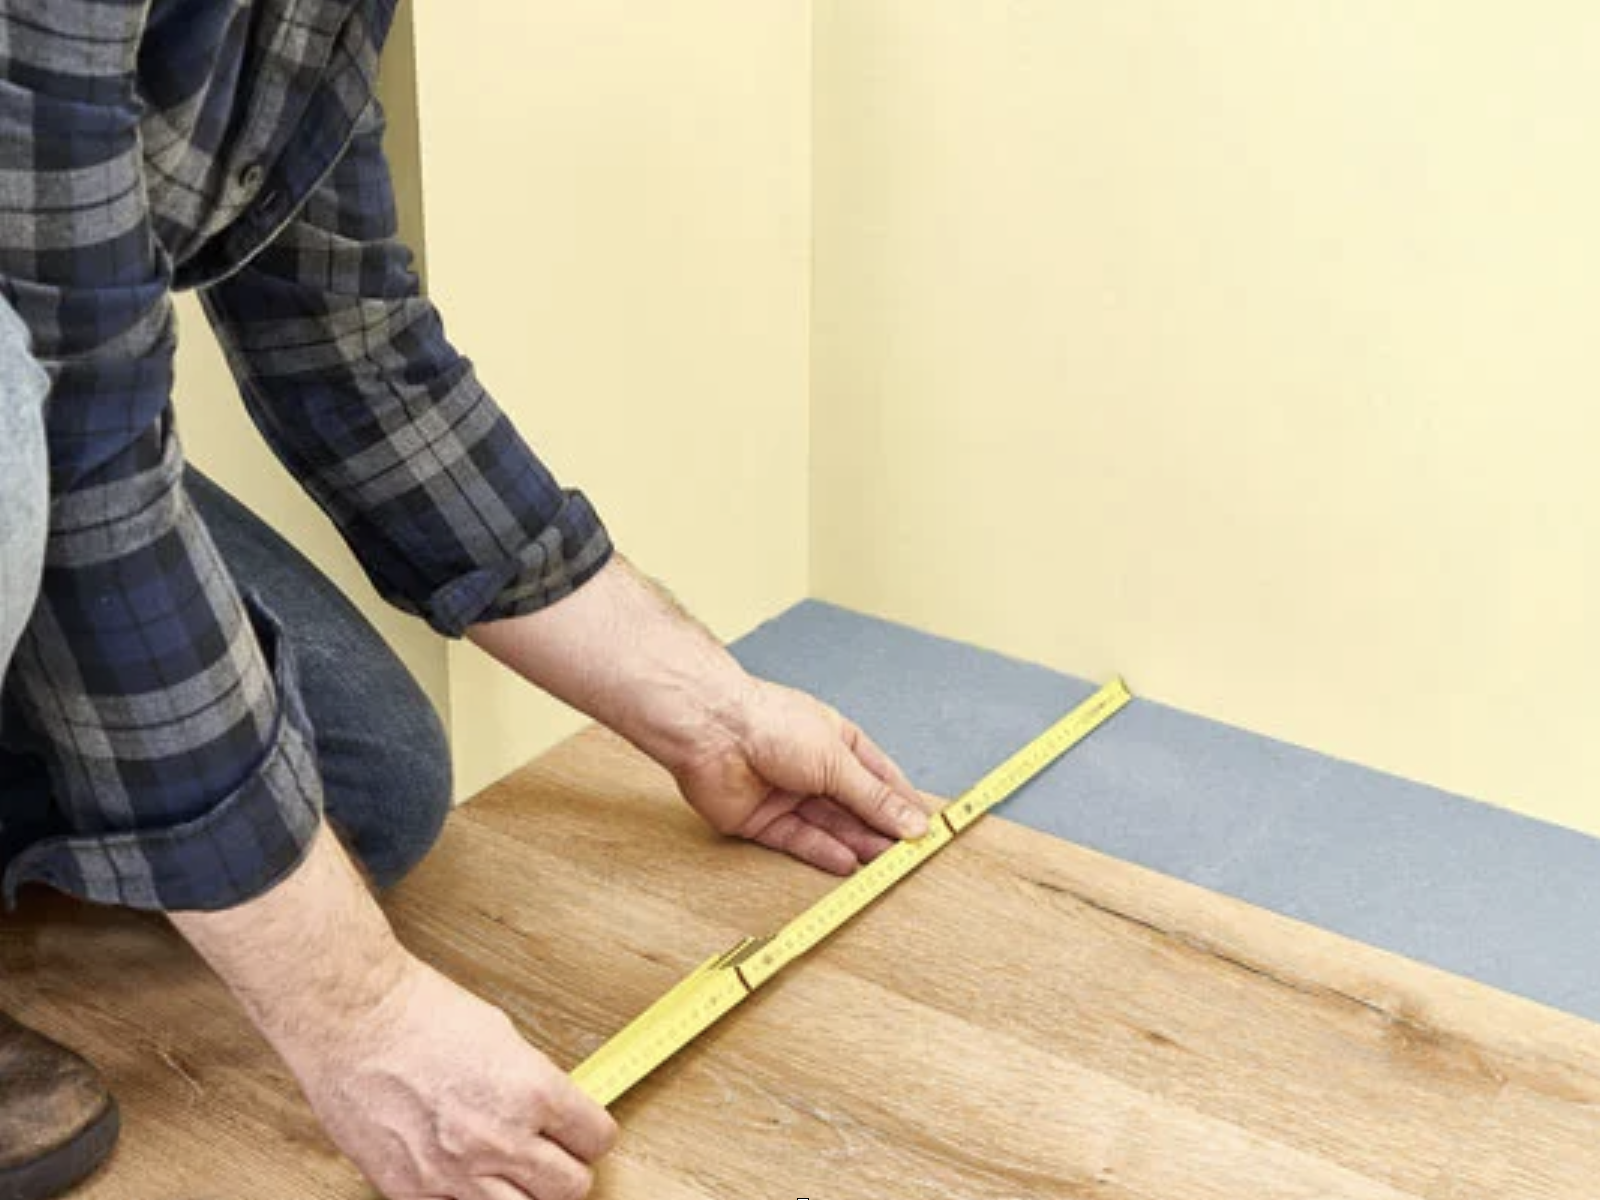 Step 1: Measure
Messen ist das A und O, um Laminat korrekt zu verlegen und zu schneiden. Bedenke, dass dein Laminat an den Rändern Dehnungsfugen benötigt und kalkuliere Ausschuss ein. Jede Reihe / Paneel solltest du stets noch einmal kontrollieren, bevor du Schnitte setzt.
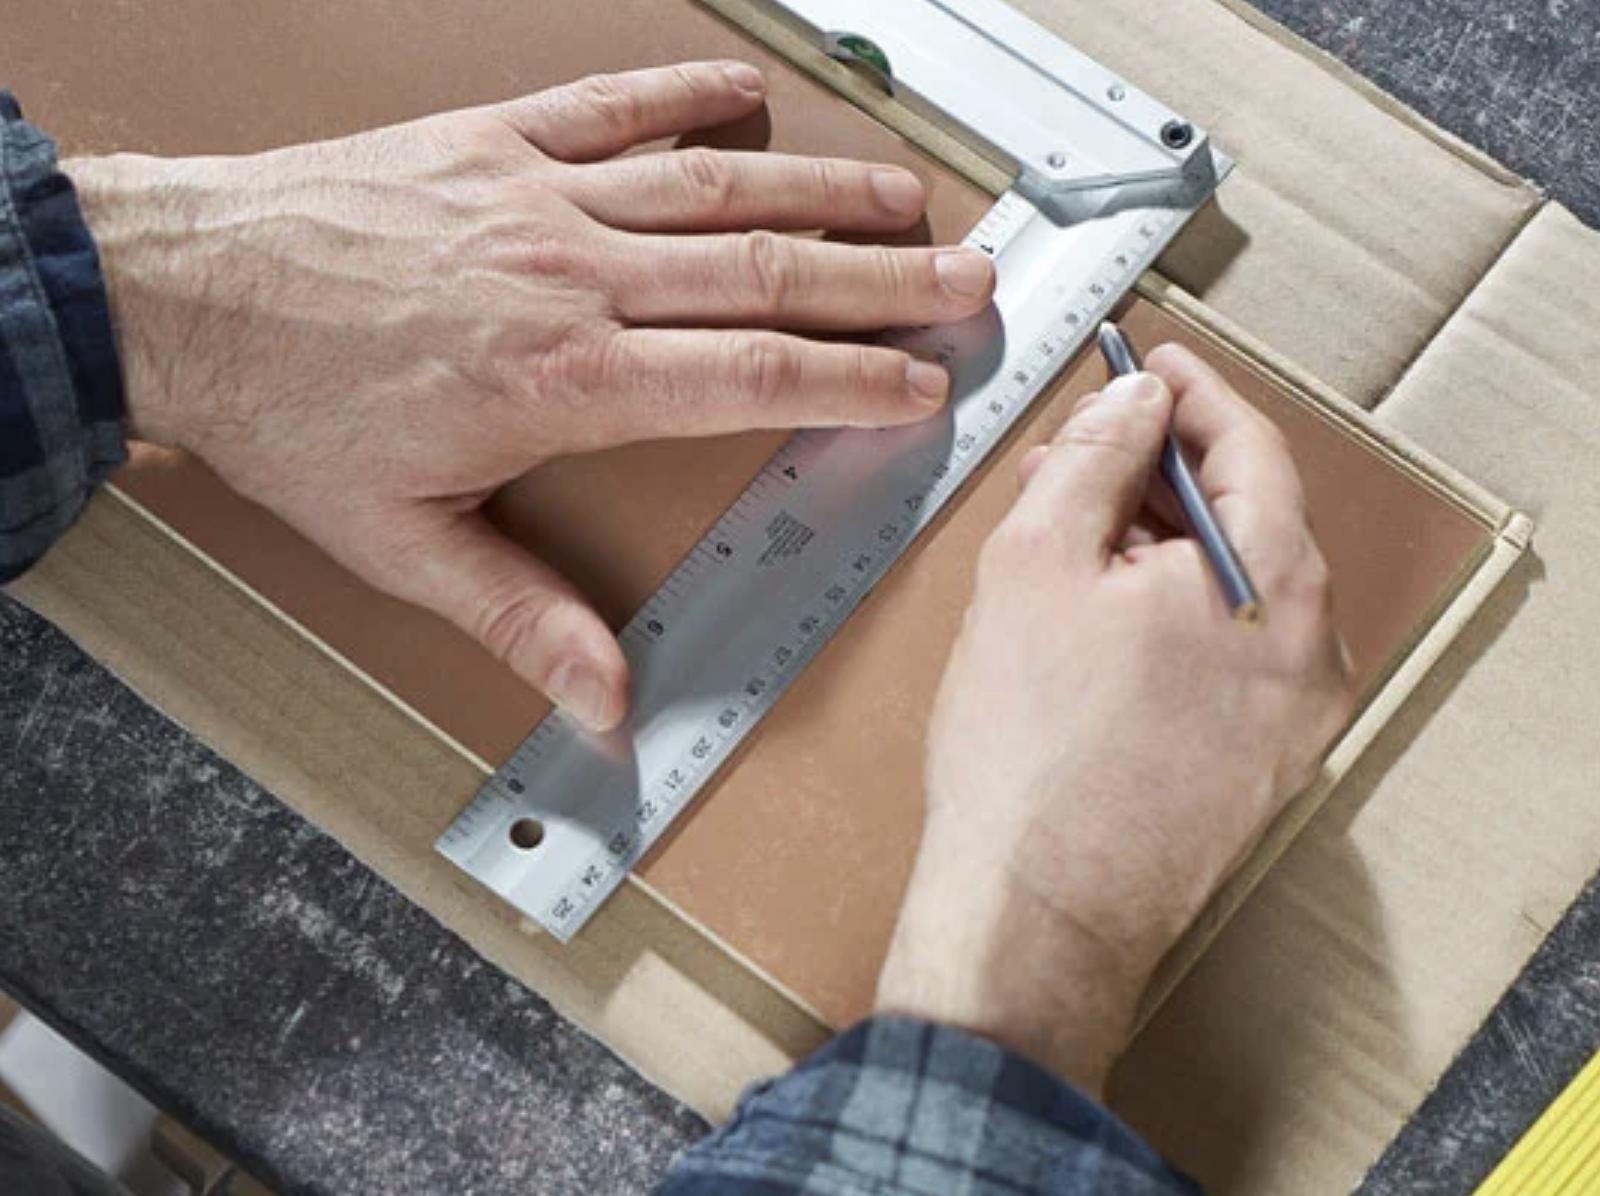 Step 2: Record
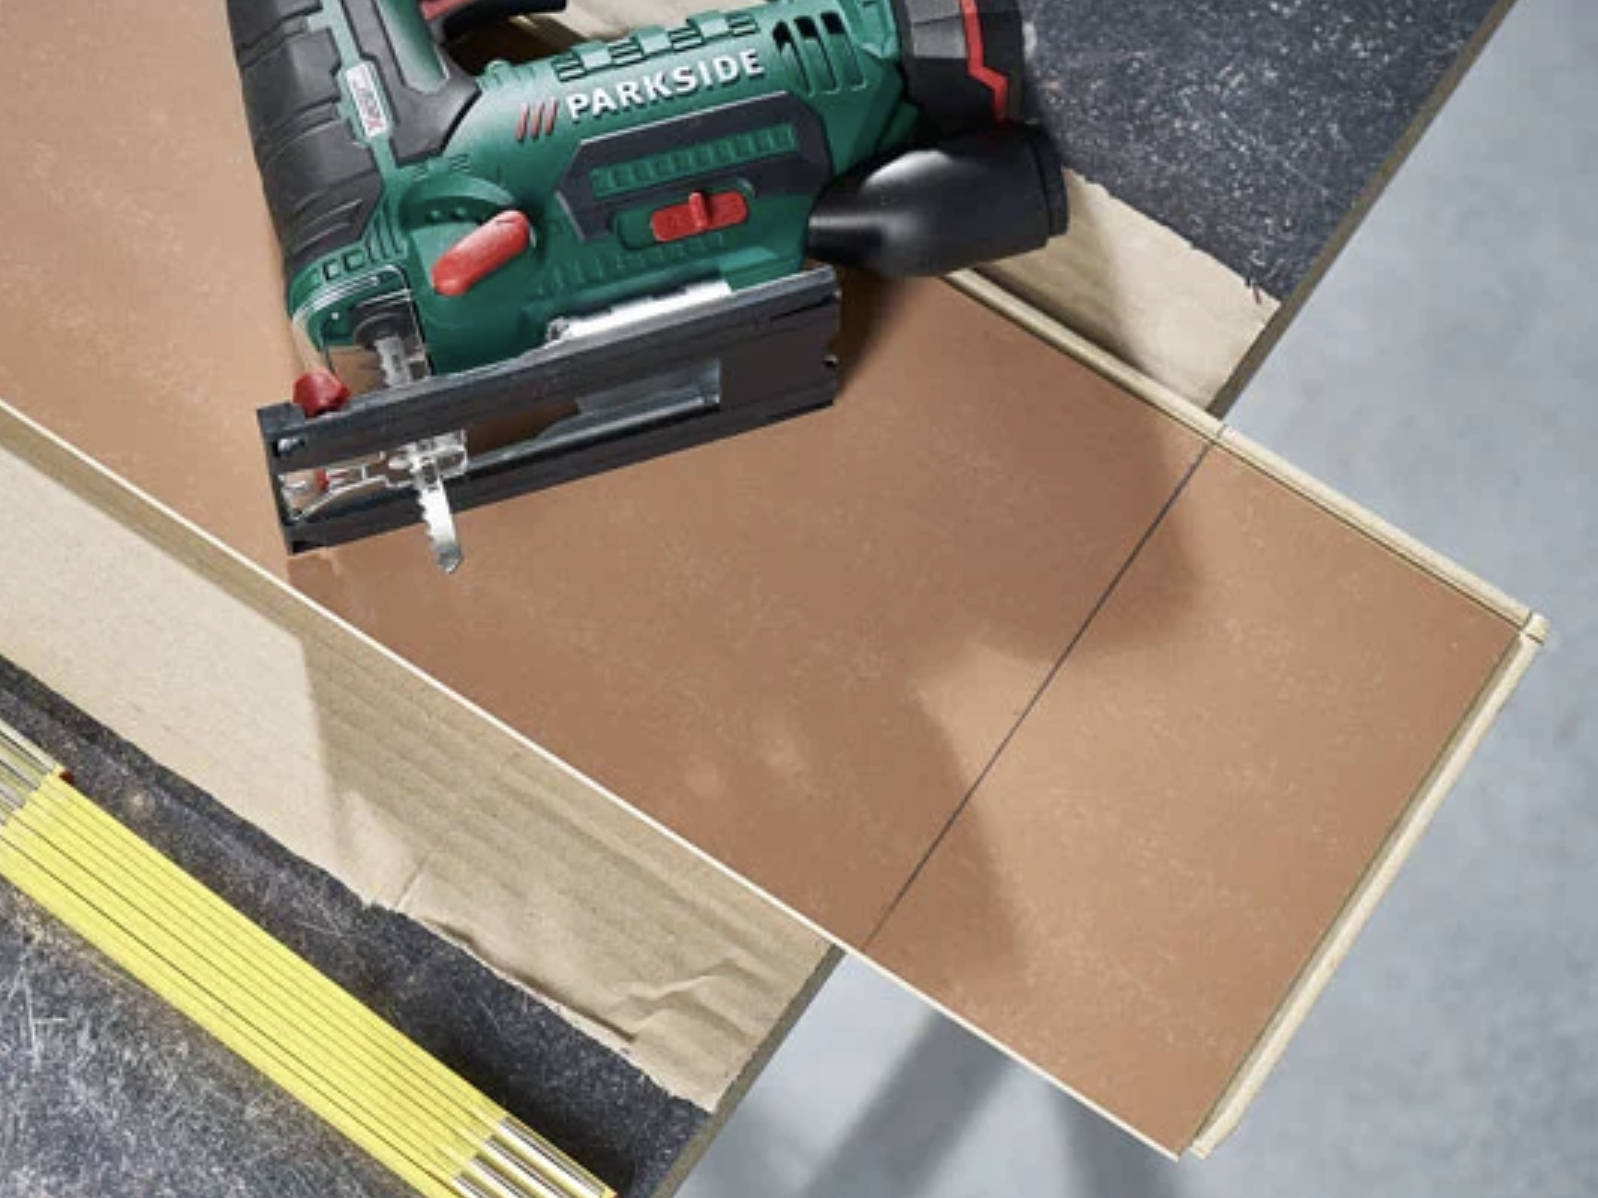
Mark the cutting line on the back of the panel – it's best to use a felt-tip pen so you can still see the line even if there's a lot of dust.
 Step 3: Preparation
Lege das Paneel mit der Oberseite auf einen Tisch oder die Werkbank. Der abzuschneidende Teil sollte überstehen. Um Kratzer auf der Dekorseite zu vermeiden, lege am besten Pappe darunter. Ideal ist eine Werkbank mit einer Aussparung für die Schnittstelle.
 Step 4: Cut
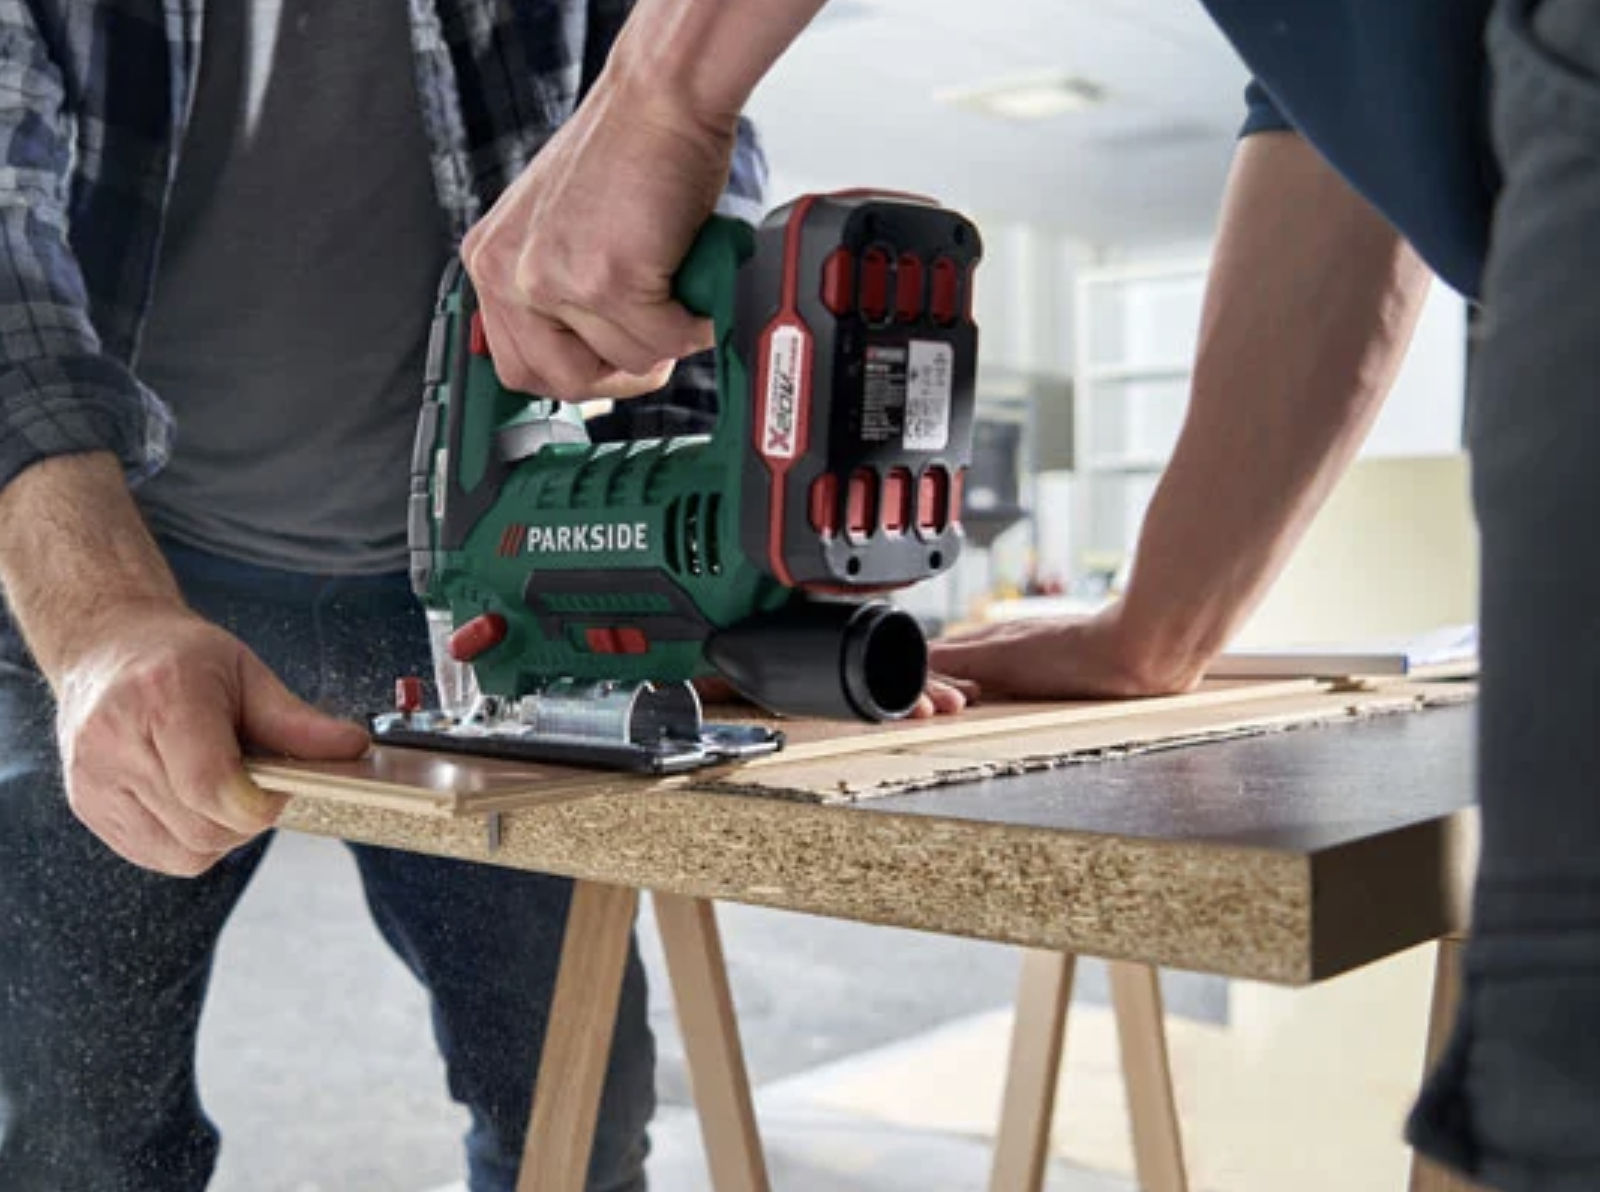
Befestige das Laminat mit Schraubzwingen (Pappe oder Holz dazwischenklemmen, um Schäden am Laminat zu verhindern) oder arbeitet zu zweit, damit das Laminat nicht verrutscht. Schneide langsam und vorsichtig, damit nichts bricht oder ausfranst.